在CentOS 5.2上使用HyperVM管理OpenVZ
版本1.0
作者:Falko Timme
HyperVM是一个多平台,多层次,多服务器,多虚拟化的基于Web的应用程序,将允许您根据跨机器和平台的不同技术创建和管理不同的虚拟机。 目前,它支持OpenVZ和Xen虚拟化,可用于RHEL 4/5以及CentOS 4和CentOS 5.本教程将介绍如何将其安装在CentOS 5.2服务器上以控制OpenVZ容器。 我还将解释如何使用远程CentOS 5.2服务器(“从”)上的HyperVM管理OpenVZ容器。
我不会保证这将为您工作!
1初步说明
我在本教程中使用了两个空的CentOS 5.2服务器(为空,因为HyperVM也将安装OpenVZ,因此OpenVZ不需要现在安装):
-
server1.example.com(IP192.168.0.100):master -
server2.example.com(IP192.168.0.102):从属
只有当您想使用HyperVM控制远程服务器上的OpenVZ容器时(仅在额外的章节中说明)才需要从属设备。
我没有找到任何关于HyperVM的许可证,无论是在HyperVM网站还是在源。 它似乎是免费的,至少对于一定数量的受控OpenVZ容器(根据http://lxlabs.com/store/ )。 如果您了解其许可证以及是否免费,请告知我们。
2安装HyperVM Master
server1:
(HyperVM主机允许您在主机本身和从机上控制OpenVZ容器,即使不想运行从机,您需要一个主机!)
首先我们需要禁用SELinux。 打开/ etc / sysconfig / selinux ...
vi /etc/sysconfig/selinux
...并将SELINUX设置为禁用 :
# This file controls the state of SELinux on the system. # SELINUX= can take one of these three values: # enforcing - SELinux security policy is enforced. # permissive - SELinux prints warnings instead of enforcing. # disabled - SELinux is fully disabled. SELINUX=disabled # SELINUXTYPE= type of policy in use. Possible values are: # targeted - Only targeted network daemons are protected. # strict - Full SELinux protection. SELINUXTYPE=targeted |
跑
setenforce 0
之后。
之后我们安装HyperVM,如下所示:
wget http://download.lxlabs.com/download/hypervm/production/hypervm-install-master.sh
 sh ./hypervm-install-master.sh --virtualization-type=openvz
这将需要相当长的一段时间,因为这也安装OpenVZ和一些OpenVZ模板,所以要耐心等待。 最后你会看到这样的东西:
Downloaded: 7 files, 1.4G in 51m 21s (485 KB/s)
 Executing Update Cleanup... Will take a long time to finish....
 Congratuations. hyperVM has been installed succesfully on your server as master
 You can connect to the server at https://<ip-address>:8887 or http://<ip-address>:8888
 Please note that first is secure ssl connection, while the second is normal one.
 The login and password are 'admin' 'admin'. After Logging in, you will have to change your password to something more secure
 Thanks for choosing hyperVM to manage your Server, and allowing us to be of service
***There is one more step you have to do to make this complete. Open /etc/grub.conf, and change the 'default=1' line to 'default=0', and reboot this machine. You will be rebooted into the openvz kernel and will able to manage vpses from the hyperVM interface
 You have mail in /var/spool/mail/root
 [root@server1 ~]#
接下来我们打开/etc/grub.conf ...
vi /etc/grub.conf
...并将default = 1更改为default = 0 ,以便OpenVZ内核是默认内核:
# grub.conf generated by anaconda
#
# Note that you do not have to rerun grub after making changes to this file
# NOTICE:  You have a /boot partition.  This means that
#          all kernel and initrd paths are relative to /boot/, eg.
#          root (hd0,0)
#          kernel /vmlinuz-version ro root=/dev/VolGroup00/LogVol00
#          initrd /initrd-version.img
#boot=/dev/sda
default=0
timeout=5
splashimage=(hd0,0)/grub/splash.xpm.gz
hiddenmenu
title CentOS (2.6.18-92.1.18.el5.028stab060.2PAE)
        root (hd0,0)
        kernel /vmlinuz-2.6.18-92.1.18.el5.028stab060.2PAE ro root=/dev/VolGroup00/LogVol00
        initrd /initrd-2.6.18-92.1.18.el5.028stab060.2PAE.img
title CentOS (2.6.18-92.1.1.el5)
        root (hd0,0)
        kernel /vmlinuz-2.6.18-92.1.1.el5 ro root=/dev/VolGroup00/LogVol00
        initrd /initrd-2.6.18-92.1.1.el5.img
title CentOS (2.6.18-92.el5)
        root (hd0,0)
        kernel /vmlinuz-2.6.18-92.el5 ro root=/dev/VolGroup00/LogVol00
initrd /initrd-2.6.18-92.el5.img |
然后我们重新启动系统:
reboot
这就是安装。
3使用HyperVM
现在打开浏览器,然后访问https://192.168.0.100:8887或http://192.168.0.100:8888 。
如果您使用Firefox 3并使用HTTPS,Firefox将会抱怨自签名证书,因此您必须告诉Firefox接受证书 - 要做到这一点, 或者您可以添加一个例外...链接:
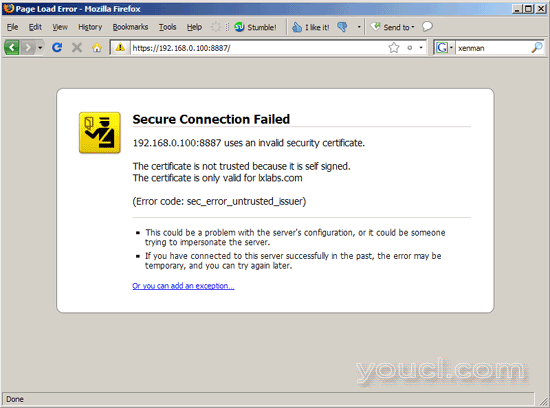
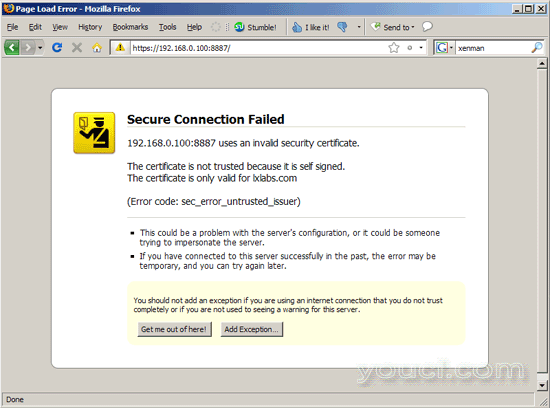
点击添加例外... :
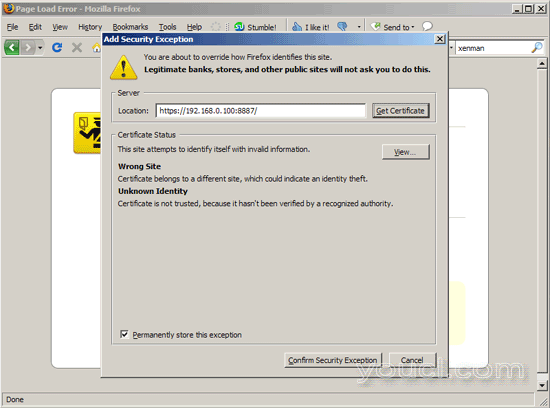
将打开“ 添加安全异常 ”窗口。 在该窗口中,首先单击获取证书按钮,然后单击确认安全异常按钮:
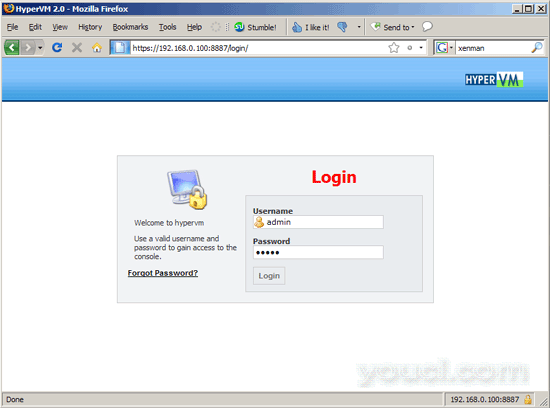
之后,您将看到HyperVM登录表单。 用户admin和密码admin登录 :
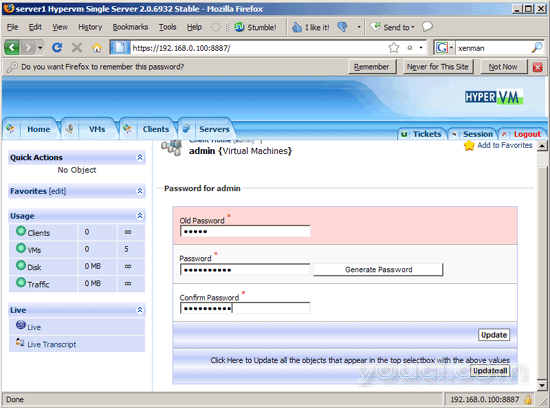
第一次登录后要求您做的第一件事是更改admin的默认密码:
