运行您自己的Webradio站与Icecast2和Ices2
版本1.0
作者:Falko Timme
本教程介绍如何使用Icecast2设置音频流服务器。 为了使Icecast2能够将音频流传输给听众,我们安装了Ices2。 Ices2是一个将音频数据发送到Icecast2服务器以广播给客户端的程序。 Ices2可以从磁盘(Ogg Vorbis文件)中读取音频数据,也可以从声卡中采集现场音频,并对其进行编码。 在本文中,我们将让Ices2从本地硬盘读取.ogg文件。
我不会保证这将为您工作!
1初步说明
如引言中所述,Ices2可以从多个来源读取数据,并将音频数据发送到Icecast2服务器。 在本文中,我们将让Ices2从本地硬盘(播放列表模式)读取.ogg文件,我们将在同一系统上安装Icecast2和Ices2。
Ices2仅支持Ogg Vorbis文件,因此如果您要流式传输的.mp3文件,则应将其转换为.ogg。 (在早期版本中,Ices也支持MP3文件,但是由于MP3是专利和专有编码技术,而是支持这种支持,而Ogg Vorbis是一种开放专利的音频编码技术。)
在这个例子中,我的系统使用Debian Etch。 Ubuntu系统的程序应该是一样的。 我的系统的IP地址为192.168.0.100 。
2安装并配置Icecast2
要安装Icecast2,我们只需运行
apt-get install icecast2
之后,我们必须编辑/etc/icecast2/icecast.xml 。 现在,大多数默认值应该正常工作,但是您应该更改<authentication> ... </ authentication>部分中的密码 。 source-password是Ices2稍后用于连接到Icecast2的密码; admin-password是管理员在Icecast2的Web界面中使用的密码; 我们不会使用中继密码,但无论如何,您应该更改它。
vi /etc/icecast2/icecast.xml
[...]
    <authentication>
        <!-- Sources log in with username 'source' -->
        <source-password>password1</source-password>
        <!-- Relays log in username 'relay' -->
        <relay-password>password2</relay-password>

        <!-- Admin logs in with the username given below -->
        <admin-user>admin</admin-user>
        <admin-password>password3</admin-password>
    </authentication>
[...] |
之后编辑/ etc / default / icecast2并将ENABLE设置为true :
vi /etc/default/icecast2
# Defaults for icecast2 initscript # sourced by /etc/init.d/icecast2 # installed at /etc/default/icecast2 by the maintainer scripts # # This is a POSIX shell fragment # # Full path to the server configuration file CONFIGFILE="/etc/icecast2/icecast.xml" # Name or ID of the user and group the daemon should run under USERID=icecast2 GROUPID=icecast # Edit /etc/icecast2/icecast.xml and change at least the passwords. # Change this to true when done to enable the init.d script ENABLE=true |
就是这样,我们现在可以启动Icecast2服务器了:
/etc/init.d/icecast2 start
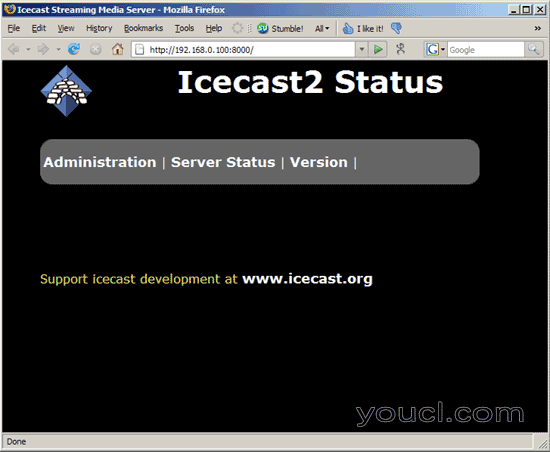
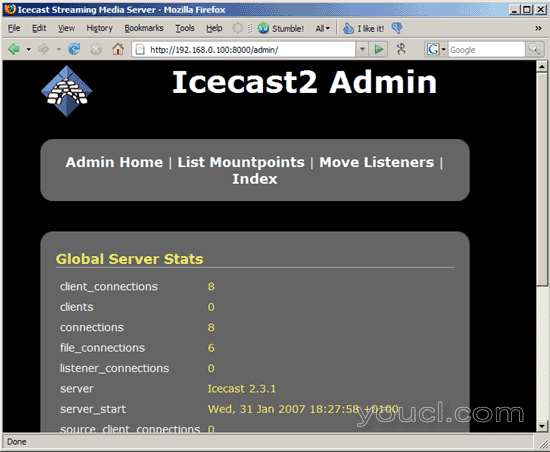
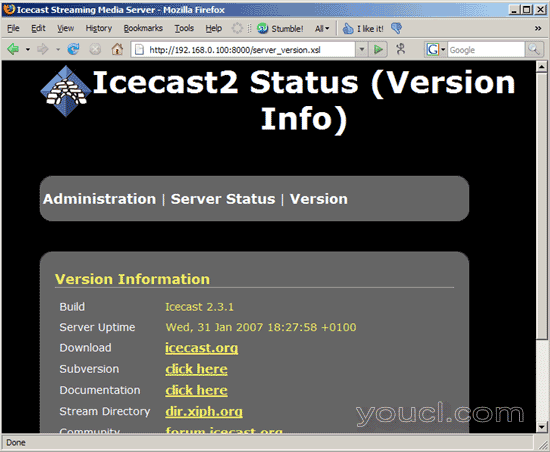
您现在可以将浏览器指向http://192.168.0.100:8000/ (用您自己的IP地址或FQDN替换192.168.0.100 ),然后浏览网页界面:


