在CentOS / RHEL和Fedora上安装WordPress
什么是LAMP和LEMP?
LAMP(Linux操作系统,Apache,MySQL和PHP)和LEMP (Linux的,Nginx的,MySQL和PHP)是在Linux系统上运行的开源Web应用程序平台。 Apache和Nginx的都是Web服务器,MySQL是关系数据库管理系统( 关系数据库管理系统 )和PHP是一个服务器端脚本语言。
在RHEL 7/6,CentOS 的7/6和Fedora 24-15安装WordPress 4.6
如上所述,我将在Apache和Nginx Web服务器上显示WordPress安装。所以我把它命名为
A和
B。 谁想要自己的
Apache服务器上安装
WordPress,他们可以使用
的方法和那些谁想要使用
Nginx的 ,他们可以按照
B法来安装
WordPress。
方法A:在Apache Web服务器上安装WordPress 4.6 - LAMP
这种 方法的安装指南显示了使用 LAMP安装在 RHEL 7/6,CentOS 的7/6和 Fedora 24-15您如何安装最新 的WordPress 4.6。第1步:安装LAMP环境
在情况下,如果你没有在你的系统中安装 LAMP,请使用以下说明进行安装。------------------ On RHEL/CentOS 7 ------------------ # yum install httpd mariadb mariadb-server php php-common php-mysql php-gd php-xml php-mbstring php-mcrypt ------------------ On RHEL/CentOS 6 and Fedora 15-20 ------------------ # yum install httpd mysql mysql-server php php-common php-mysql php-gd php-xml php-mbstring php-mcrypt ------------------ On Fedora 21-23 ------------------ # dnf install httpd mariadb mariadb-server php php-common php-mysql php-gd php-xml php-mbstring php-mcrypt安装MySQL / MariaDB后,运行以下命令并按照屏幕向导来保护MySQL安装。
# mysql_secure_installation
第2步:下载Apache的WordPress 4.6
您必须是root用户才能下载软件包。# cd /tmp # wget http://wordpress.org/latest.tar.gz
第3步:提取Apache的WordPress 4.6
下载完成后,运行以下命令解除它。# tar -xvzf latest.tar.gz -C /var/www/html
第4步:创建MySQL数据库WordPress
连接到 MySQL服务器并运行以下命令来创建数据库并授予权限。## Connect to MySQL Server & Enter Password (if any or leave blank)## mysql -u root -p Enter password: ## Creating New User for WordPress Database ## CREATE USER wordpress@localhost IDENTIFIED BY "your_password_here"; ## Create New Database ## create database wordpress; ## Grant Privileges to Database ## GRANT ALL ON wordpress.* TO wordpress@localhost; ## FLUSH privileges ## FLUSH PRIVILEGES; ## Exit ## exit请替换文本在 红色与适当的 数据库名称 , 用户和 密码中。这些设置我们以后需要。
第4步:为WordPress创建Apache VirtualHost
打开 VI编辑器文件 /etc/httpd/conf/httpd.conf中 。# vi /etc/httpd/conf/httpd.conf在文件的底部添加以下代码行。替换 红色与所需的设置显示的文字。
<VirtualHost *:80>
ServerAdmin youcl@youcl.com
DocumentRoot /var/www/html/wordpress
ServerName wordpress
ErrorLog /var/log/httpd/wordpress-error-log
CustomLog /var/log/httpd/wordpress-acces-log common
</VirtualHost>
接下来,重新启动 Apache服务以反映更改。
--------- On CentOs/RHEL 7 and Fedora 22-24 ---------
# systemctl restart httpd.service
--------- On CentOs/RHEL 6 and Fedora 15-21 ---------
# service httpd restart
添加下面一行到 / etc / hosts文件。
127.0.0.1 wordpress
第5步:配置WordPress安装
复制默认 WP-CONFIG-sample.php到 WP-config.php文件来配置WordPress安装。# cd /var/www/html/wordpress # cp wp-config-sample.php wp-config.php打开 wp-config.php文件。
# vi wp-config.php正如我们在上面的 第3步创建修改下列数据库设置。
// ** MySQL settings - You can get this info from your web host ** //
/** The name of the database for WordPress */
define('DB_NAME', 'database_name_here');
/** MySQL database username */
define('DB_USER', 'username_here');
/** MySQL database password */
define('DB_PASSWORD', 'password_here');
/** MySQL hostname */
define('DB_HOST', 'localhost');
/** Database Charset to use in creating database tables. */
define('DB_CHARSET', 'utf8');
/** The Database Collate type. Don't change this if in doubt. */
define('DB_COLLATE', '');
第6步:完成WordPress安装
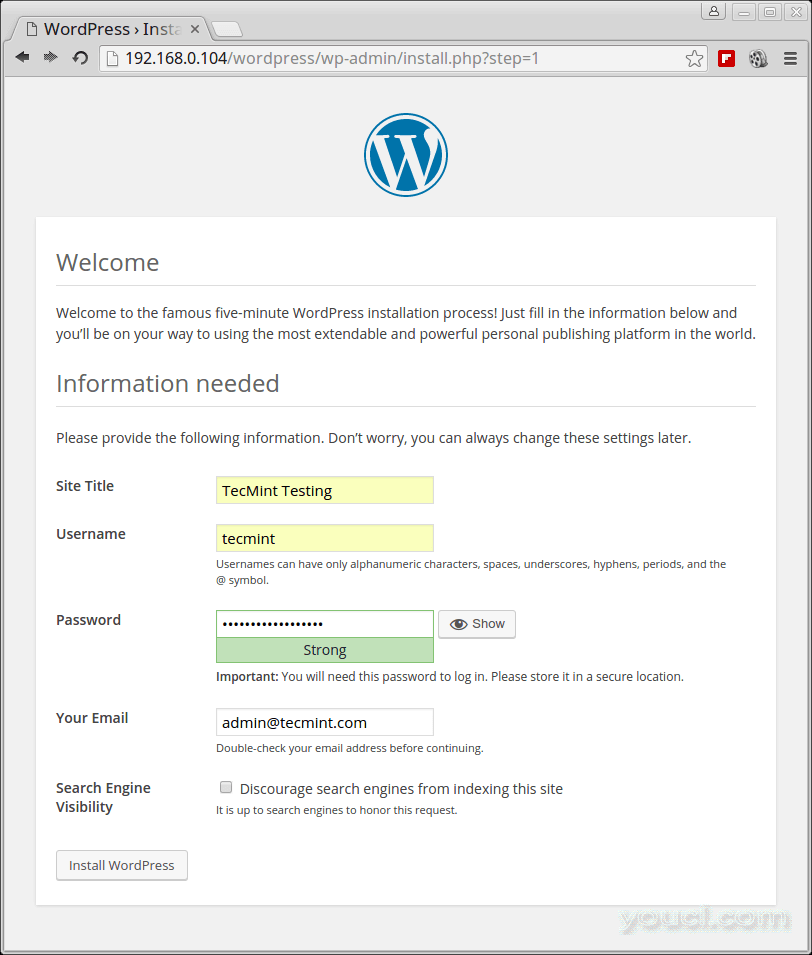
打开浏览器并输入以下任一地址。http://wordpress/ http://localhost http://your-ip让您的 网站标题 , 创建管理员用户 , 创建管理员密码 , 输入您的电子邮件 ,然后点击 安装按钮。

WordPress网站设置

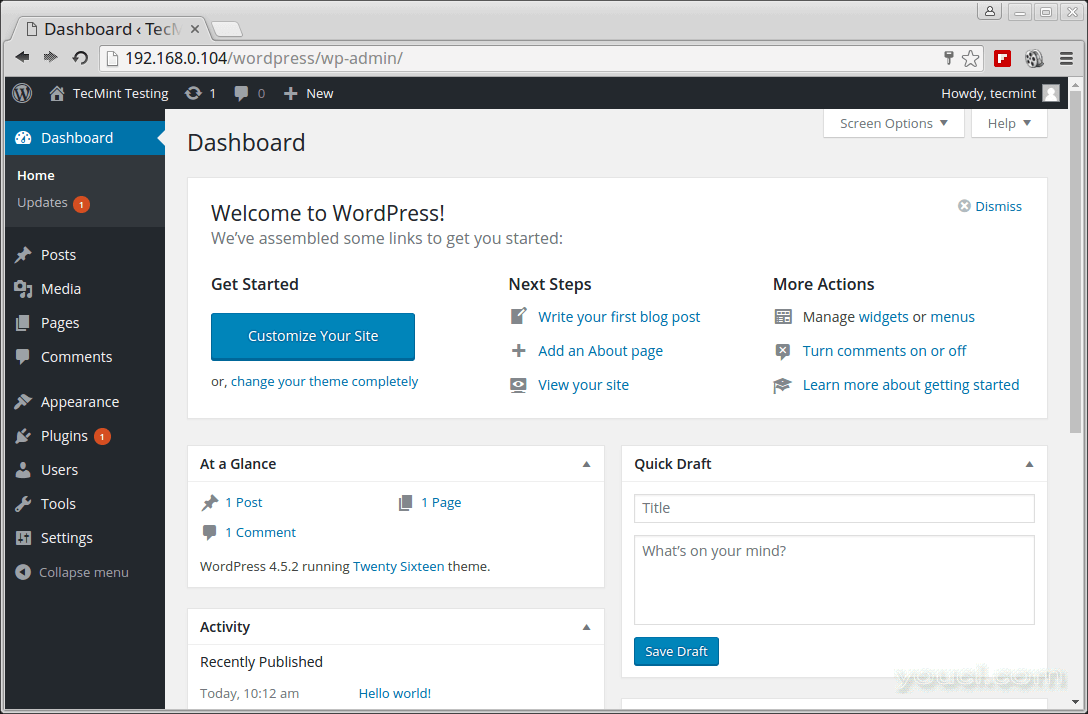
WordPress仪表板

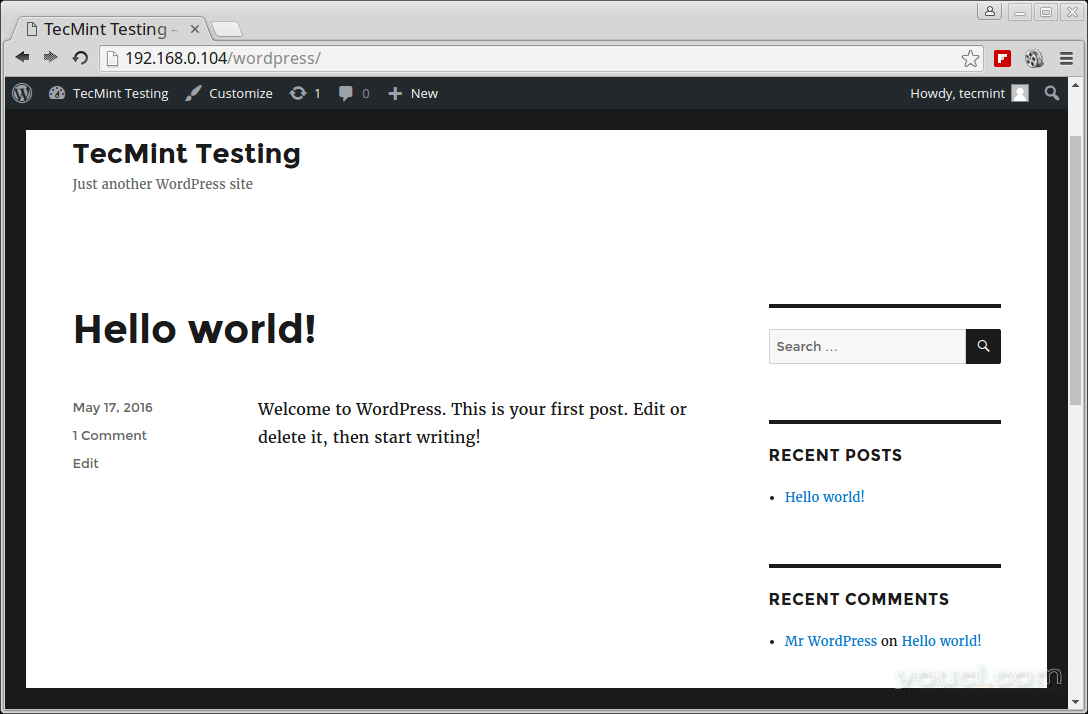
WordPress网站视图
方法B:在RHEL,CentOS和Fedora上为Nginx安装WordPress 4.6
第1步:为Nginx创建WordPress目录
# mkdir -p /srv/www/wordpress/public_html
# mkdir /srv/www/wordpress/logs
# chown -R nginx:nginx /srv/www/wordpress
第2步:下载并解压Nginx的WordPress 4.6
cd /tmp
# wget http://wordpress.org/latest.tar.gz
# tar -xvzf latest.tar.gz -C /srv/www/wordpress/public_html --strip-components=1
第3步:创建MySQL数据库WordPress
连接到 MySQL服务器并运行以下命令来创建数据库并授予权限。## Connect to MySQL Server & Enter Password (if any or leave blank)## mysql -u root -p Enter password: ## Creating New User for WordPress Database ## CREATE USER wordpress@localhost IDENTIFIED BY "your_password_here"; ## Create New Database ## create database wordpress; ## Grant Privileges to Database ## GRANT ALL ON wordpress.* TO wordpress@localhost; ## FLUSH privileges ## FLUSH PRIVILEGES; ## Exit ## exit请替换文本在 红色与适当的 数据库名称 , 用户和 密码中。这些设置我们以后需要。
第4步:为WordPress创建Nginx VirtualHost
如果你按照我们的指导 LEMP已创建这些目录。如果没有,请通过运行这些命令创建它。# mkdir /etc/nginx/sites-available # mkdir /etc/nginx/sites-enabled添加以下代码行 /etc/nginx/nginx.conf文件,这行 后,“ 包括/etc/nginx/conf.d/*.conf。
include /etc/nginx/sites-enabled/*;接下来为WordPress创建Nginx虚拟主机文件。
# vi /etc/nginx/sites-available/wordpress添加以下内容 /etc/nginx/sites-available/wordpress.conf文件。
server {
server_name wordpress;
access_log /srv/www/wordpress/logs/access.log;
error_log /srv/www/wordpress/logs/error.log;
root /srv/www/wordpress/public_html;
location / {
index index.php;
}
# Disable favicon.ico logging
location = /favicon.ico {
log_not_found off;
access_log off;
}
# Allow robots and disable logging
location = /robots.txt {
allow all;
log_not_found off;
access_log off;
}
# Enable permalink structures
if (!-e $request_filename) {
rewrite . /index.php last;
}
# Handle php requests
location ~ \.php$ {
include /etc/nginx/fastcgi_params;
fastcgi_pass  127.0.0.1:9000;
fastcgi_index index.php;
fastcgi_param SCRIPT_FILENAME /srv/www/wordpress/public_html$fastcgi_script_name;
}
# Disable static content logging and set cache time to max
location ~* \.(js|css|png|jpg|jpeg|gif|ico)$ {
expires max;
log_not_found off;
}
# Deny access to htaccess and htpasswd files
location ~ /\.ht {
deny  all;
}
}
为启用网站的目录创建符号链接。
# cd /etc/nginx/sites-enabled/
# ln -s /etc/nginx/sites-available/wordpress.conf
通过发出以下命令禁用Selinux:
# setenforce 0
# getenforce  #Should be on disabled now
重新启动Nginx服务器以反映更改。
--------- On CentOs/RHEL 7 and Fedora 22-24 ---------
# systemctl restart nginx.service
--------- On CentOs/RHEL 6 and Fedora 15-21 ---------
# service nginx restart
添加下面一行到 / etc / hosts文件。
127.0.0.1 wordpress
第5步:配置WordPress安装
复制默认 WP-CONFIG-sample.php到 WP-config.php文件来配置WordPress安装。# cd /srv/www/wordpress/public_html # cp wp-config-sample.php wp-config.php正如我们在上面的 第3步创建修改下列数据库设置。
// ** MySQL settings - You can get this info from your web host ** //
/** The name of the database for WordPress */
define('DB_NAME', 'database_name_here');
/** MySQL database username */
define('DB_USER', 'username_here');
/** MySQL database password */
define('DB_PASSWORD', 'password_here');
/** MySQL hostname */
define('DB_HOST', 'localhost');
/** Database Charset to use in creating database tables. */
define('DB_CHARSET', 'utf8');
/** The Database Collate type. Don't change this if in doubt. */
define('DB_COLLATE', '');
现在,按照上面
第6步的WordPress安装。 最后,只需确保通过以root权限发出以下命令来启用系统范围的服务:
在RHEL / CentOS 7和Fedora 22-24上
# systemctl enable mariadb.service
# systemctl enable httpd.service
# systemctl enable nginx.service
在RHEL / CentOS 6和Fedora 15-21上
# chkconfig mariadb on
# chkconfig httpd on
# chkconfig nginx on
万一,如果你在安装过程中遇到任何麻烦,请让我知道通过评论,不要忘记与你的朋友分享这篇文章。


