PowerDNS是很多Linux / Unix的衍生产品上运行的DNS服务器。 它可以配置不同的后端,包括BIND样式区域文件,关系数据库或负载平衡/故障转移算法。 它也可以设置为在服务器上作为单独进程运行的DNS recursor。
PowerDNS权威服务器的最新版本3.4.4是,但在EPEL存储库中的一个可用,现在是3.4.3。 我会建议安装一个用于EPEL软件库,由于这个版本是在CentOS的和Fedora测试的事实。 这样,你也将能够在未来轻松地更新PowerDNS。
本文拟向您展示如何安装和设置主PowerDNS服务器与后端MariaDB的和PowerAdmin -为PowerDNS一个友好的web界面管理工具。
为了本文的目的,我将使用服务器:
Hostname: centos7.localhost
IP Address 192.168.0.102
第1步:使用MariaDB后端安装PowerDNS
1.首先您需要启用为您的服务器EPEL软件库只需使用:
# yum install epel-release.noarch
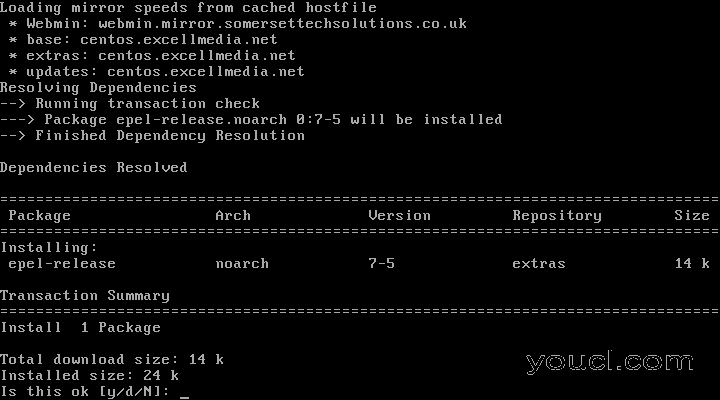
启用Epel存储库
2.下一步是安装MariaDB的服务器。 这可以通过运行以下命令轻松完成:
# yum -y install mariadb-server mariadb
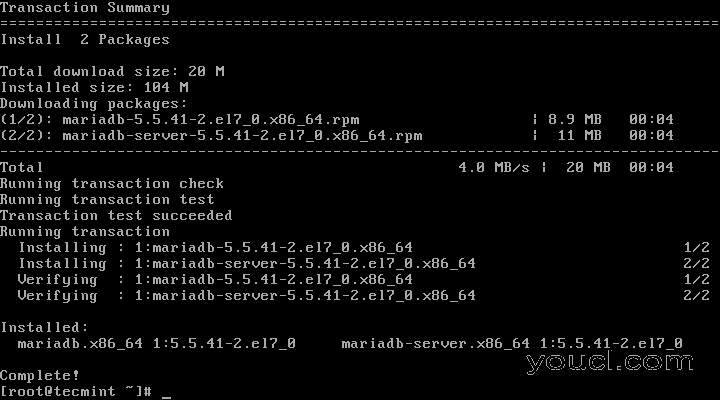
安装MariaDB服务器
3.接下来我们将配置MySQL启用并开始在系统启动:
# systemctl enable mariadb.service
# systemctl start mariadb.service
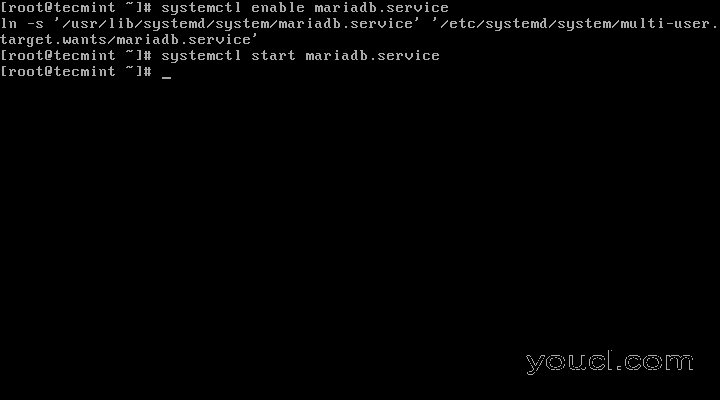
启用启动MariaDB系统引导
4.现在,MySQL的服务正在运行,我们将通过运行安全和设置MariaDB的密码:
# mysql_secure_installation
按照指示
/bin/mysql_secure_installation: line 379: find_mysql_client: command not found
NOTE: RUNNING ALL PARTS OF THIS SCRIPT IS RECOMMENDED FOR ALL MariaDB
SERVERS IN PRODUCTION USE!  PLEASE READ EACH STEP CAREFULLY!
In order to log into MariaDB to secure it, we'll need the current
password for the root user.  If you've just installed MariaDB, and
you haven't set the root password yet, the password will be blank,
so you should just press enter here.
Enter current password for root (enter for none):  Press ENTER
OK, successfully used password, moving on...
Setting the root password ensures that nobody can log into the MariaDB
root user without the proper authorisation.
Set root password? [Y/n] y
New password:  ← Set New Password
Re-enter new password:  ← Repeat Above Password
Password updated successfully!
Reloading privilege tables..
... Success!
By default, a MariaDB installation has an anonymous user, allowing anyone
to log into MariaDB without having to have a user account created for
them.  This is intended only for testing, and to make the installation
go a bit smoother.  You should remove them before moving into a
production environment.
Remove anonymous users? [Y/n] y ← Choose “y” to disable that user
... Success!
Normally, root should only be allowed to connect from 'localhost'.  This
ensures that someone cannot guess at the root password from the network.
Disallow root login remotely? [Y/n] n ← Choose “n” for no
... skipping.
By default, MariaDB comes with a database named 'test' that anyone can
access.  This is also intended only for testing, and should be removed
before moving into a production environment.
Remove test database and access to it? [Y/n] y ← Choose “y” for yes
- Dropping test database...
... Success!
- Removing privileges on test database...
... Success!
Reloading the privilege tables will ensure that all changes made so far
will take effect immediately.
Reload privilege tables now? [Y/n] y ← Choose “y” for yes
... Success!
Cleaning up...
All done!  If you've completed all of the above steps, your MariaDB
installation should now be secure.
Thanks for using MariaDB!
5.一旦MariaDB的配置做成功,我们可以安装PowerDNS的进一步进行。 这很容易通过运行完成:
# yum -y install pdns pdns-backend-mysql
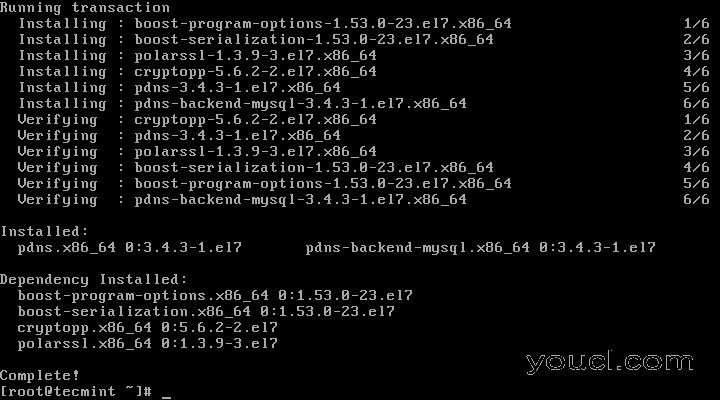
使用MariaDB后端安装PowerDNS
6. PowerDNS的配置文件位于/etc/pdns/pdns ,但编辑之前,我们将设置为PowerDNS服务MySQL数据库。 首先,我们将连接到MySQL服务器,并创建名为powerdns数据库:
# mysql -u root -p
MariaDB [(none)]> CREATE DATABASE powerdns;
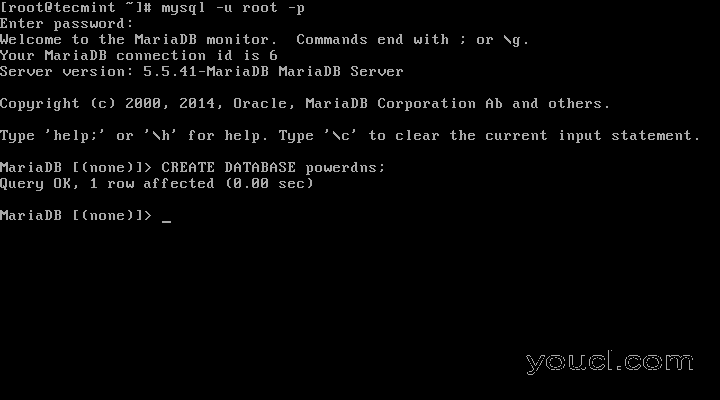
创建PowerDNS数据库
7.接下来,我们将创建一个数据库用户名为powerdns:
MariaDB [(none)]> GRANT ALL ON powerdns.* TO 'powerdns'@'localhost' IDENTIFIED BY 'youcl123';
MariaDB [(none)]> GRANT ALL ON powerdns.* TO 'powerdns'@'centos7.localdomain' IDENTIFIED BY 'youcl123';
MariaDB [(none)]> FLUSH PRIVILEGES;
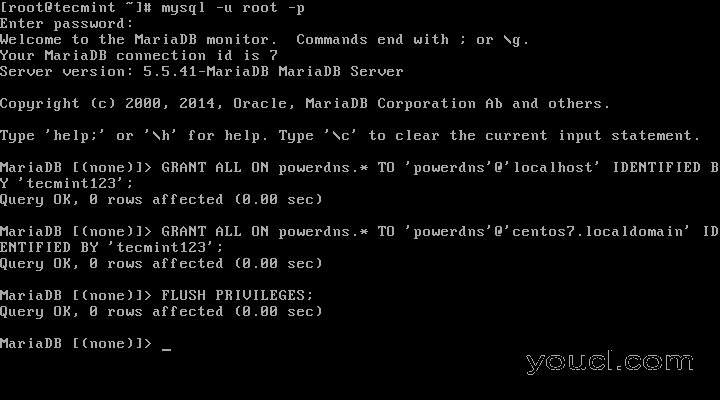
创建PowerDNS用户
注:要使用您设置的实际密码替换“youcl123”。
8.我们继续通过创建PowerDNS使用的数据库表。 逐块执行:
MariaDB [(none)]> USE powerdns;
MariaDB [(none)]> CREATE TABLE domains (
id INT auto_increment,
name VARCHAR(255) NOT NULL,
master VARCHAR(128) DEFAULT NULL,
last_check INT DEFAULT NULL,
type VARCHAR(6) NOT NULL,
notified_serial INT DEFAULT NULL,
account VARCHAR(40) DEFAULT NULL,
primary key (id)
);
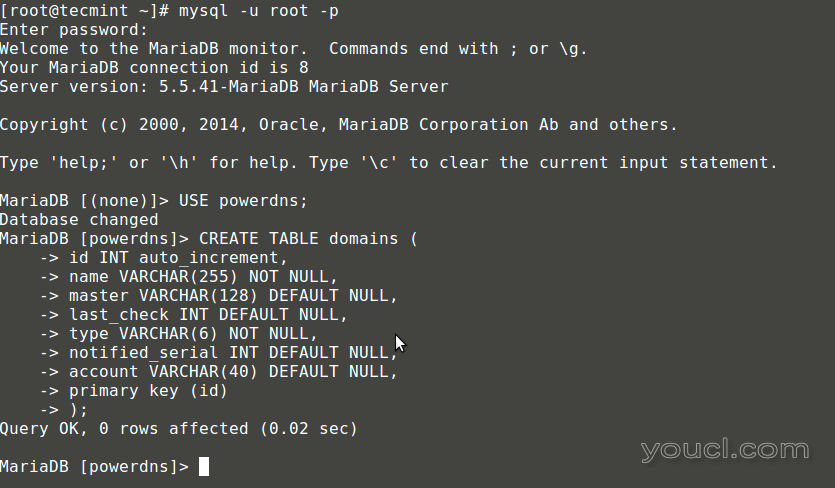
为PowerDNS创建表域
MariaDB [(none)]> CREATE UNIQUE INDEX name_index ON domains(name);
MariaDB [(none)]> CREATE TABLE records (
id INT auto_increment,
domain_id INT DEFAULT NULL,
name VARCHAR(255) DEFAULT NULL,
type VARCHAR(6) DEFAULT NULL,
content VARCHAR(255) DEFAULT NULL,
ttl INT DEFAULT NULL,
prio INT DEFAULT NULL,
change_date INT DEFAULT NULL,
primary key(id)
);
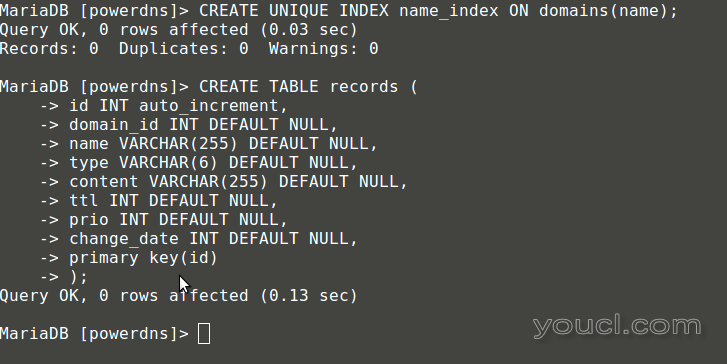
为PowerDNS创建索引域
MariaDB [(none)]> CREATE INDEX rec_name_index ON records(name);
MariaDB [(none)]> CREATE INDEX nametype_index ON records(name,type);
MariaDB [(none)]> CREATE INDEX domain_id ON records(domain_id);
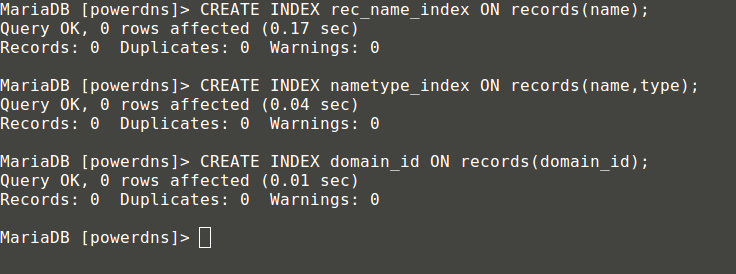
创建索引记录
MariaDB [(none)]> CREATE TABLE supermasters (
ip VARCHAR(25) NOT NULL,
nameserver VARCHAR(255) NOT NULL,
account VARCHAR(40) DEFAULT NULL
);

创建表超人
您现在可以通过键入以下命令退出MySQL控制台:
MariaDB [(none)]> quit;
9.最后,我们可以用,它会使用MySQL作为后端的方式配置我们PowerDNS进行。 对于位于为此开PowerDNS配置文件:
# vim /etc/pdns/pdns.conf
在该文件中寻找看起来像这样的线:
#################################
# launch        Which backends to launch and order to query them in
#
# launch=
紧接着放了下面的代码:
launch=gmysql
gmysql-host=localhost
gmysql-user=powerdns
gmysql-password=user-pass
gmysql-dbname=powerdns
更改“ 用户通 ”与您之前设置的实际密码。 这里是我的配置看起来像:
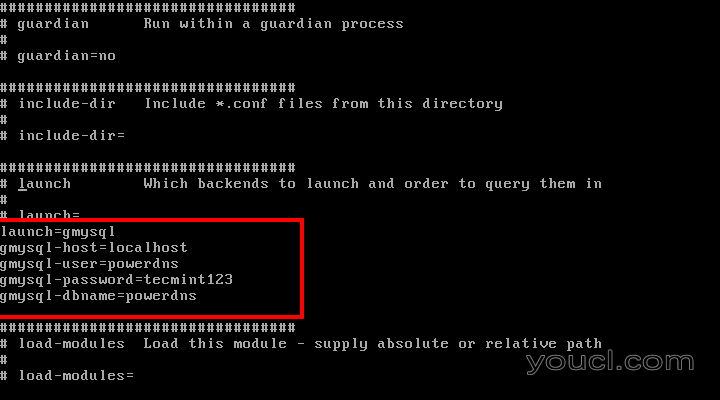
配置PowerDNS
保存更改并退出。
10.现在,我们将开始添加PowerDNS到开始在系统启动服务列表:
# systemctl enable pdns.service
# systemctl start pdns.service
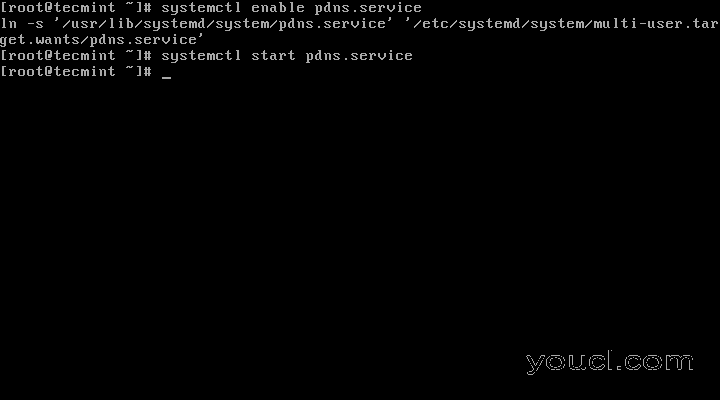
启用和启动PowerDNS
此时你PowerDNS服务器启动并运行。 有关PowerDNS更多信息,您可以参考提供的说明书在http://downloads.powerdns.com/documentation/html/index.html


