来自第DEIS
介绍
Deis是一种开源私有平台即服务(PaaS),可简化在自己的服务器上部署和管理应用程序。 通过利用诸如Docker和CoreOS等技术,Deis在您选择的托管提供商上提供类似于Heroku的工作流和缩放功能。 Deis支持可以在Docker容器中运行的应用程序,Deis可以在支持CoreOS的任何平台上运行。
本指南将引导您使用Deis项目的新工具Rigger来完成新的和改进的Deis配置过程。
预习
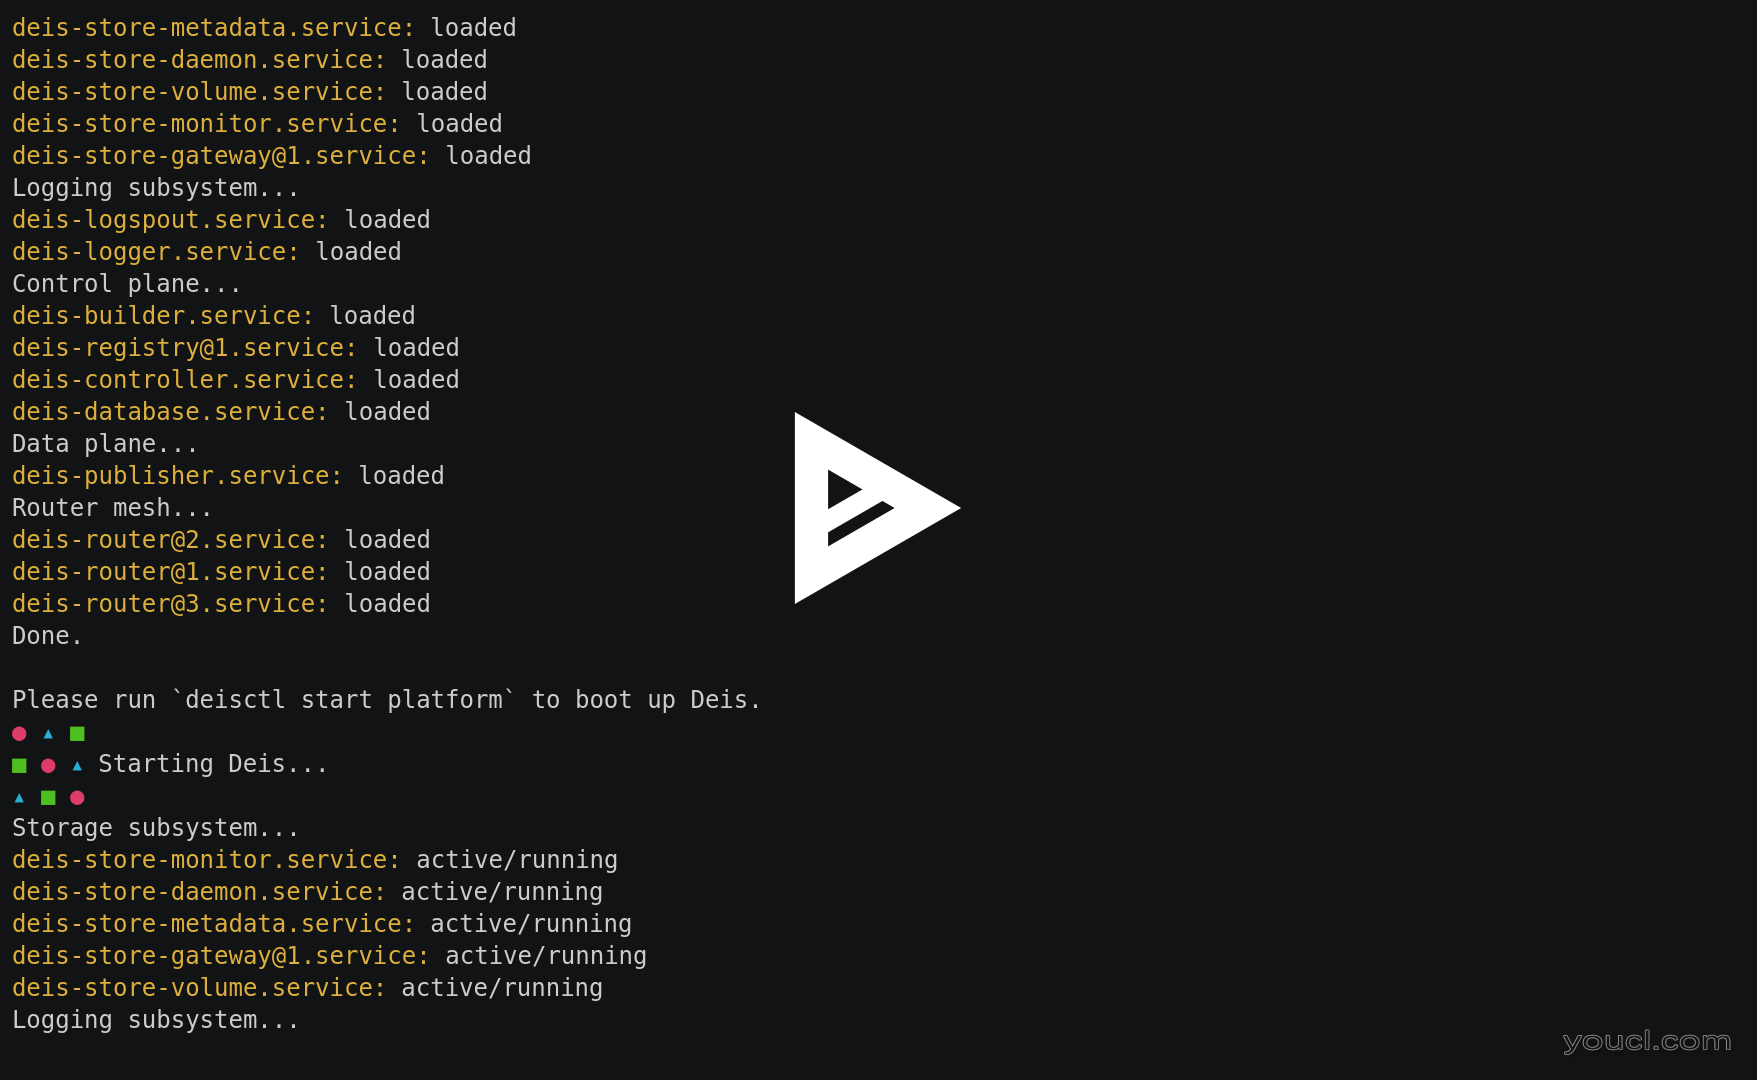
如果你没有太多的时间,这加速了终端记录 (大约只有一分钟长!)显示了我们是怎样到本文的其余部分:
先决条件
Rigger设计用于处理自己的依赖关系管理,但是您需要在设置Deis群集之前先设置一些内容。 要在家遵循本指南,您需要:
- DigitalOcean个人访问令牌访问DigitalOcean API(后续如何生成个人访问令牌 )( 令牌必须读写 )
- SSH密钥对(后续如何使用DigitalOceanDropletSSH密钥 )
本教程中的所有命令都可以在本地Mac或Linux工作站(OS X> = 10.10和Debian / Ubuntu进行测试)上运行。 它们也可以在Droplet上运行,但这不是必需的。
该zip , make和git事业需要在你使用任何工作站提供与索具一DEIS集群安装。
例如,如果您使用的是Ubuntu系统,请使用以下命令安装它们:
sudo apt-get update
sudo apt-get install zip make git
该git实用程序通过文章来下载桨架和一个示例应用程序。 该zip和make公用事业由索具配置脚本中使用。
如果您运行的是Mac OS X,您还需要同意Xcode许可协议才能使用git:
sudo xcodebuild -license
注:本文是为DEIS版本1.12.0编写。
第1步 - 安装Rigger
要安装索具,第一次使用git下载吧:
git clone https://github.com/deis/rigger.git
更改为创建的目录:
cd rigger
然后,执行以下命令:
./rigger
当它第一次运行时,您将看到以下内容:
OutputDownloading rerun from GitHub...
在输出结束时,您将看到可用命令的列表:
OutputAvailable commands in module, "rigger":
checkout: "checkout the Deis repo with version: $VERSION into directory: $DEIS_ROOT"
configure: "initialize a rigger varsfile to use with future commands"
   [ --advanced]: "configure all the nitty gritty details of the infrastructure and Deis deployment"
   [ --provider <>]: "which cloud provider to use to provision a Deis cluster"
   [ --version <>]: "choose what version of Deis to deploy"
create-registry: "Create a local dev registry"
deploy: "Install and Deploy Deis"
destroy: "destroy all infrastructure created by the provision step"
provision: "provision new infrastructure and deploy Deis to it"
   [ --cleanup]: "destroy cluster after action"
setup-clients: "download and stage deisctl and deis clients for your own use"
shellinit: "show the current sourceable environment variables (useful for eval-ing)"
   [ --file <>]: "use a specific file"
shell-reset: "an eval-able output that unsets variables that have been injected by rigger"
   [ --file <>]: "use a specific file"
test: "run a test suite on the provisioned Deis cluster"
   [ --type <smoke>]: "provide a type of test to run"
upgrade: "Tests upgrade path for Deis"
   [ --to <master>]: "Define version of Deis to upgrade to"
   [ --cleanup]: "destroy cluster after action"
    --upgrade-style <graceful>: "choose the style of upgrade you'd like to perform"
第2步 - 配置Deis部署
要配置Deis部署以使用DigitalOcean作为提供程序和特定版本的Deis,我们需要做的是调用:
./rigger configure --provider "digitalocean" --version "1.12.0"
然后Rigger会问你几个问题。 它将看起来像这样:
Output-> What DigitalOcean token should I use? DO_TOKEN (no default)
[enter or paste your DigitalOcean token here]
You chose: ******

-> Which private SSH key should be used? SSH_PRIVATE_KEY_FILE [ /Users/sgoings/.ssh/id_dsa ]
1) /Users/sgoings/.ssh/id_dsa
2) ...
#? [enter a number]
You chose: 1) /Users/sgoings/.ssh/id_dsa

... output snipped ...

Enter passphrase for /Users/sgoings/.ssh/id_dsa: [enter your ssh passphrase]

Rigger has been configured on this system using ${HOME}/.rigger/<id>/vars
To use the configuration outside of rigger, you can run:

  source "${HOME}/.rigger/<id>/vars"
你已经完成了艰难的部分!
第3步 - 利润!
或者更准确地说:跑rigger在DigitalOcean以提供基础设施,然后部署DEIS!
我们需要做的是执行:
./rigger provision
警告:如果您在Mac OS X上运行索具,你可能会看到以下错误信息:
Agreeing to the Xcode/iOS license requires admin privileges, please re-run as root via sudo.
如果是这样,你需要同意与Xcode的许可证sudo xcodebuild -license命令的前提条件一节中提到。
在DigitalOcean上使用Rigger的Deis配置过程大约需要15分钟,如下所示:
- Terraform会自动下载并安装到
${HOME}/.rigger通过索具使用 - DEIS客户端(
deis和deisctl)下载到${HOME}/.rigger/ <id> /bins - Terraform是用来提供3 CoreOSDropletDigitalOcean
-
DEISCTL_TUNNEL被调查新设置的DigitalOceanDroplet之一确定 - xip.io用于一个简单的DNS条目点设置到群集
-
deisctl install platform执行 -
deisctl start platform执行
警告:如果你看到下面的错误置备于DigitalOcean基础设施时,请确保您的DO访问令牌是可读写的:
3 error(s) occurred:

* digitalocean_droplet.deis.1: Error creating droplet: Error creating droplet: API Error: 403 Forbidden
* digitalocean_droplet.deis.0: Error creating droplet: Error creating droplet: API Error: 403 Forbidden
* digitalocean_droplet.deis.2: Error creating droplet: Error creating droplet: API Error: 403 Forbidden
然后,您可以运行./rigger provision一次。
第4步 - 游戏时间!
使用Rigger创建Deis群集后,您应该为其部署应用程序!
首先,回到一些免费的目录空间:
cd ../
接下来,从Deis项目中获取示例应用程序:
git clone https://github.com/deis/example-nodejs-express.git
切换到新创建的目录:
cd example-nodejs-express
加载所有的rigger的环境变量到这个shell:
source "${HOME}/.rigger/<id>/vars"
然后向此Deis集群注册管理帐户:
deis auth:register http://deis.${DEIS_TEST_DOMAIN}
系统将提示您创建帐户的一些信息:
Outputusername: [ enter a username ]
password: [ enter a password ]
password (confirm): [ enter the same password ]
email: [ enter an email for this user ]
Registered <username>
Logged in as <username>
将您的公钥添加到Deis集群:
deis keys:add
您将看到以下内容:
OutputFound the following SSH public keys:
1) deiskey.pub deiskey
2) id_dsa.pub sgoings
0) Enter path to pubfile (or use keys:add <key_path>)
Which would you like to use with Deis? [ enter number ]
你应该选择与您在选择私钥伴随而来的公钥rigger configure的一步。
添加一个git远程指向Deis集群:
deis apps:create
您将看到以下内容:
OutputCreating Application... done, created hearty-kingfish
Git remote deis added
remote available at ssh://git@deis.${DEIS_TEST_DOMAIN}:2222/hearty-kingfish.git
现在,推!
git push deis master
这可能需要一段时间。 您应该最终在输出结尾看到以下内容:
Output-----> Launching...
       done, hearty-kingfish:v2 deployed to Deis

       http://hearty-kingfish.${DEIS_TEST_DOMAIN}

       To learn more, use `deis help` or visit http://deis.io
请在浏览器中加载该网址! (该应用程序是相当简单,它只是打印出:“Powered by Deis”)
第5步 - 敲掉它!
一旦你已经玩了你的花哨的新Deis群集有点...它可能是一个好主意,把所有下来,嗯? 这很简单。
回到rigger的目录:
cd ../rigger
然后,销毁它:
./rigger destroy
结论
在本指南中,您可以看到Deis团队的目标,使开发人员,运营商和开源提供商的生活更加轻松。 置备一个DEIS集群现与索具微风,得益于成功的结合Terraform引擎盖和快如闪电的DigitalOcean作为基础设施供应商下。


