Django是一个高级Python框架,用于快速开发Web应用程序。 DigitalOcean的Django一键应用程序使用Django,Nginx,Gunicorn和Postgres快速部署预配置的开发环境到您的VPS。
创建Django Droplet
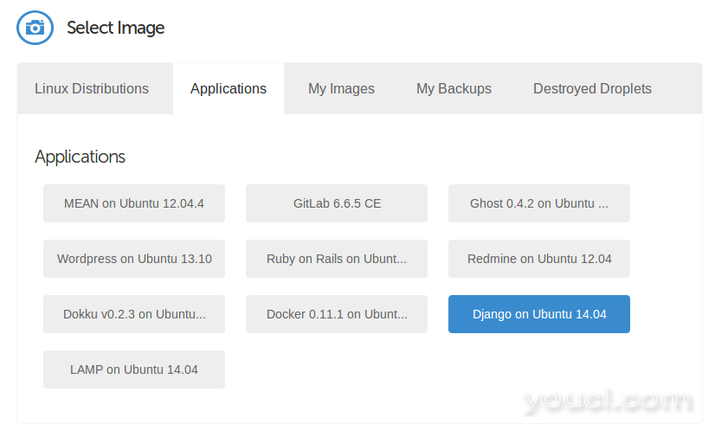
使用的图像,从Droplet创建过程中的应用程序菜单中选择在Ubuntu 14.04 Django的 :
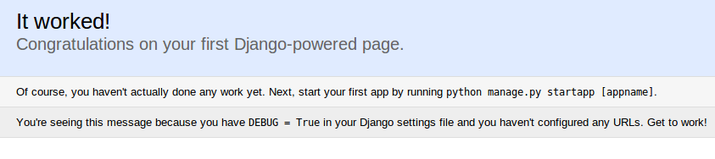
一旦创建了Droplet,导航到你的Droplet的IP地址( HTTP://your.ip.address )在浏览器中,并验证Django的运行:
您现在可以以root身份登录到您的Droplet,并阅读“一天的消息”,其中包含有关您的安装的重要信息:
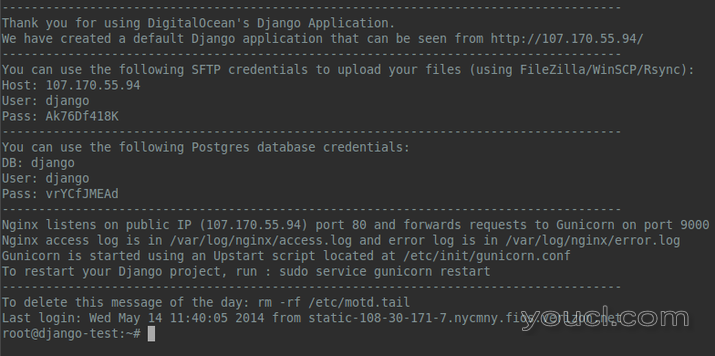
此信息包括Django用户和Postgres数据库的用户名和密码。 如果您需要重提此后者,信息可以在文件中找到/etc/motd.tail
配置详细信息
Django项目由Gunicorn服务,监听端口9000,由Nginx代理,监听端口80。
Nginx
nginx的配置是位于/etc/nginx/sites-enabled/django :
upstream app_server {
    server 127.0.0.1:9000 fail_timeout=0;
}

server {
    listen 80 default_server;
    listen [::]:80 default_server ipv6only=on;

    root /usr/share/nginx/html;
    index index.html index.htm;

    client_max_body_size 4G;
    server_name _;

    keepalive_timeout 5;

    # Your Django project's media files - amend as required
    location /media  {
        alias /home/django/django_project/django_project/media;
    }

    # your Django project's static files - amend as required
    location /static {
        alias /home/django/django_project/django_project/static;
    }

    location / {
        proxy_set_header X-Forwarded-For $proxy_add_x_forwarded_for;
        proxy_set_header Host $http_host;
        proxy_redirect off;
        proxy_pass http://app_server;
    }
}
如果重命名项目文件夹,请记住更改静态文件的路径。
Gunicorn
Gunicorn由位于Upstart脚本来开始启动/etc/init/gunicorn.conf它看起来像:
description "Gunicorn daemon for Django project"

start on (local-filesystems and net-device-up IFACE=eth0)
stop on runlevel [!12345]

# If the process quits unexpectedly trigger a respawn
respawn

setuid django
setgid django
chdir /home/django

exec gunicorn \
    --name=django_project \
    --pythonpath=django_project \
    --bind=0.0.0.0:9000 \
    --config /etc/gunicorn.d/gunicorn.py \
    django_project.wsgi:application
同样,如果重命名项目文件夹,记得更新name和pythonpath在这个文件中。
Upstart脚本还源位于一个配置文件/etc/gunicorn.d/gunicorn.py ,设置工作进程的数:
"""gunicorn WSGI server configuration."""
from multiprocessing import cpu_count
from os import environ


def max_workers():
    return cpu_count() * 2 + 1

max_requests = 1000
worker_class = 'gevent'
workers = max_workers()
关于配置Gunicorn更多信息,可以发现该项目的文档。
Django
Django的项目本身位于/home/django/django_project它可以启动,重新启动或使用Gunicorn服务停止。 例如,要在执行更改后重新启动项目:
service gunicorn restart
在开发时,每次进行更改时重新启动服务器都会很烦人。 所以你可能想使用Django的内置开发服务器,它自动检测更改:
service gunicorn stop
python manage.py runserver localhost:9000
虽然方便,内置服务器不提供最佳性能。 所以使用Gunicorn服务生产。
编写您的第一个Django应用程序
有许多资源可以为您提供编写Django应用程序的深入介绍,但现在让我们快速演示如何开始使用。 登录到您的服务器并切换到django用户。 现在让我们在项目中创建一个新的应用程序:
cd /home/django/django_project
python manage.py startapp hello
您的目录结构现在应该是:
.
├── django_project
│   ├── __init__.py
│   ├── settings.py
│   ├── urls.py
│   └── wsgi.py
├── hello
│   ├── admin.py
│   ├── __init__.py
│   ├── models.py
│   ├── tests.py
│   └── views.py
└── manage.py
接下来,我们将创建第一个视图。 编辑文件hello/views.py看起来像:
from django.shortcuts import render
from django.http import HttpResponse
def index(request):
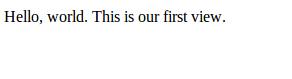
return HttpResponse("Hello, world! This is our first view.")
然后,我们可以通过编辑连接该视图到一个URL django_project/urls.py
from django.conf.urls import patterns, include, url
from hello import views
from django.contrib import admin
admin.autodiscover()

urlpatterns = patterns('',
    url(r'^$', views.index, name='index'),
    url(r'^admin/', include(admin.site.urls)),
)
在这之后,我们就可以重新启动项目为根: service gunicorn restart
如果您重新载入网页,您现在会看到:
下一步
- 按照我们最初的服务器安装向导给
sudo权限的用户,锁定root登录,并采取其他步骤,让您的VPS为生产做好准备。 - 利用Fabric自动化部署及其他管理任务。
- 请参阅官方的Django项目文档 。


