Ubuntu 15.10上的Samba服务器安装
本指南介绍了在Ubuntu 15.10(Wiley Werewolf)上安装和配置Samba服务器,具有匿名和安全的Samba共享。 Samba是一个开源/免费软件套件,可为SMB / CIFS客户端提供无缝文件和打印服务。 与其他SMB / CIFS实现不同,Samba可以免费使用,并允许Linux / Unix服务器和基于Windows的客户端之间的互操作性。
1初步说明
我安装了Ubuntu 15.10服务器,我将安装samba服务器。 作为Samba客户端系统,我将使用Windows桌面连接到samba服务器并检查设置。 Windows桌面应该在同一个网络中,以便能够访问Ubuntu服务器。 我的Ubuntu服务器的主机名是server1.example.com ,IP是192.168.1.100
如果您没有Ubuntu服务器,请按照本教程将最小化的服务器设置作为本教程的基础。
注意:
- Windows机器必须在同一个工作组中。 要检查Windows机器中的值,请在cmd提示符下运行以下命令:
net config workstation
输出将如下所示:
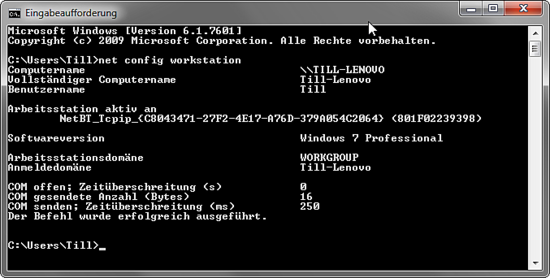
您的Windows机器必须位于与Ubuntu服务器相同的Workstation域中,即在我的情况下为WORKGROUP 。
- 要使Windows机器在Windows中通过其主机名可访问,请按照以下步骤操作。 以管理员模式打开Windows终端(您可以通过在程序菜单中右键单击终端图标来达到管理员模式),并运行以下命令打开Windows主机文件:
notepad C:\\Windows\System32\drivers\etc\hosts
在那里你添加以下红线并保存文件:
[...]
192.168.1.100 	server1.example.com	server1
2匿名Samba分享
Samba在Ubuntu存储库中可用。 第一步是使用apt安装Samba Server及其依赖关系。
apt-get install -y samba samba-common python-glade2 system-config-samba
它将安装Samba 版本4.1.17-Ubuntu 。
要配置samba,请编辑文件/etc/samba/smb.conf。 我将使用nano作为编辑器,并在开始更改原始文件之前进行备份。 备份文件名为 /etc/samba/smb.conf.bak
cp -pf /etc/samba/smb.conf /etc/samba/smb.conf.bak
cat /dev/null  > /etc/samba/smb.conf
用nano打开Samba配置文件:
nano /etc/samba/smb.conf
并添加以下行。
[global]
workgroup = WORKGROUP
server string = Samba Server %v
netbios name = ubuntu
security = user
map to guest = bad user
dns proxy = no

#============================ Share Definitions ==============================

[Anonymous]
path = /samba/anonymous
browsable =yes
writable = yes
guest ok = yes
read only = no
force user = nobody
然后我将为匿名分享创建一个目录。
mkdir -p /samba/anonymous
设置正确的权限。
chmod -R 0755 /samba/anonymous/
chown -R nobody:nogroup /samba/anonymous/
并重新启动Samba以应用新配置。
service smbd restart
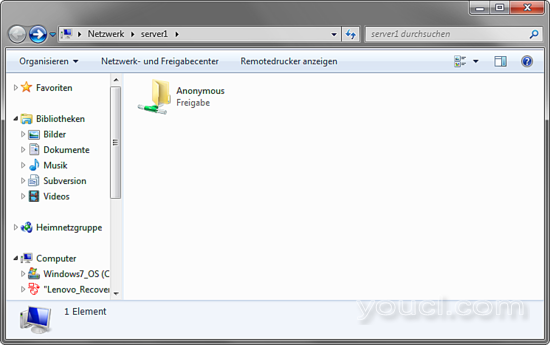
现在,您可以通过在菜单的Windows搜索字段中输入“\\ server1”来访问Windows中的Ubuntu共享,或使用Windows文件浏览器的网络浏览器连接到共享。
尝试通过拖放将文件上传到共享,看看它是否正常工作。
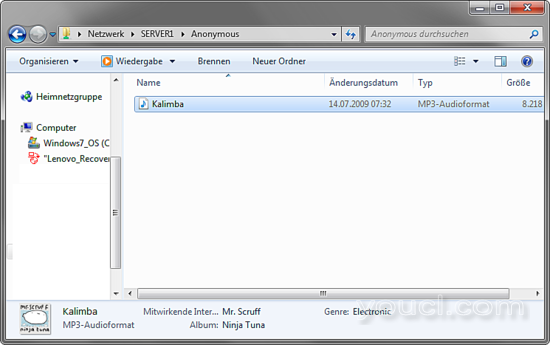
您也可以在服务器上检查内容。
ls -la /sambe/anonymous/
root@server1:/# ls -la /samba/anonymous/
total 8228
drwxr-xr-x 2 nobody nogroup 4096 Oct 30 15:14 .
drwxr-xr-x 3 root root 4096 Oct 30 15:07 ..
-rwxr--r-- 1 nobody nogroup 8414449 Jul 14 2009 Kalimba.mp3
3.安全Samba服务器
对于受密码保护的共享,我将创建一个组smbgrp和用户, 直到访问Samba服务器。 我将在本例中使用“youcl”作为密码,请在您的服务器上选择一个自定义和安全的密码。
addgroup smbgrp
useradd till -G smbgrp
smbpasswd -a till
root@server1:~# smbpasswd -a till
New SMB password:<--youcl
Retype new SMB password:<--youcl
Added user till.
root@server1:~#
现在,在/ samba文件夹中创建名称为“ secured”的文件夹,并给出这样的权限
mkdir -p /samba/secured
cd /samba
chmod -R 0770 secured
chown root:smbgrp secured
编辑Samba配置文件,并在文件末尾添加以下(红色)行:
nano /etc/samba/smb.conf
[...]
[secured]
 path = /samba/secured
 valid users = @smbgrp
 guest ok = no
 writable = yes
 browsable = yes
service smbd restart
要交叉检查设置,请运行以下命令:
cd
testparm
root@server1:~# testparm
Load smb config files from /etc/samba/smb.conf
rlimit_max: increasing rlimit_max (1024) to minimum Windows limit (16384)
Processing section "[Anonymous]"
Processing section "[secured]"
Loaded services file OK.
Server role: ROLE_STANDALONE
Press enter to see a dump of your service definitions<--ENTER

[global]
    netbios name = UBUNTU
    server string = Samba Server %v
    map to guest = Bad User
    dns proxy = No
    idmap config * : backend = tdb

[Anonymous]
    path = /samba/anonymous
    read only = No
    guest ok = Yes

[secured]
    path = /samba/secured
    valid users = @smbgrp
    read only = No
root@server1:~#
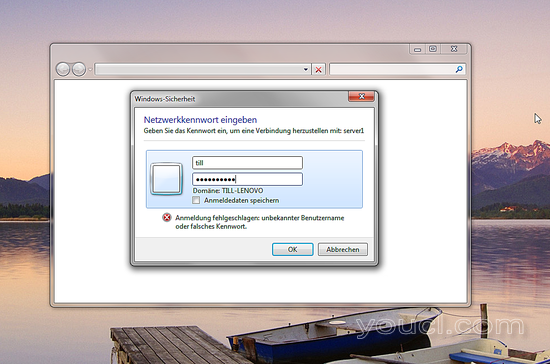
在Windows机器上,再次打开“ \\ server1”网络设备,它将立即请求用户名和密码。 输入您在上方创建的用户详细信息。 在我的情况下,值为user = till和password = youcl 。

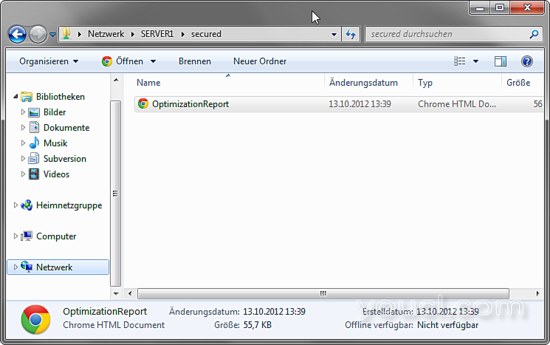
我们可以在Ubuntu服务器上检查文件,如下所示:
ls -la /samba/secured/
root@server1:~# ls -la /samba/secured/
total 64
drwxrwx--- 2 root smbgrp 4096 Oct 30 15:33 .
drwxr-xr-x 4 root root 4096 Oct 30 15:23 ..
-rwxr--r-- 1 till till 57113 Oct 13 2012 OptimizationReport.htm
现在我们有一个成功配置的Samba服务器与Ubuntu 15.10上的匿名和安全共享:)
4链接
- Ubuntu: http : //www.ubuntu.com/
- Samba: http : //www.samba.org/samba/


