在RHEL 5.2上使用Nginx减少Apache的负载
本文介绍如何安装和配置Nginx以加速基于RHEL 5.2的Apache服务器。
1.更新已安装的软件包
yum install update
2.安装新软件包
yum install -y httpd-devel
wget http://rpmfind.net/linux/EPEL/5Server/i386/nginx-0.6.31-3.el5.i386.rpm
rpm nginx-0.6.31-3.el5.i386.rpm
3.编辑/etc/nginx/nginx.conf
将nginx设置为反向代理:
nano /etc/nginx/nginx.conf
更改worker_processes 1; 到worker_processes 2;
更换
http {
  include /etc/nginx/mime.types;
  default_type application/octet-stream;
  log_format main '$remote_addr - $remote_user [$time_local] $request '
  '"$status" $body_bytes_sent "$http_referer" '
  '"$http_user_agent" "$http_x_forwarded_for"';
  access_log /var/log/nginx/access.log main;
  sendfile on;
  #tcp_nopush on;
  #keepalive_timeout 0;
  keepalive_timeout 65;
  #gzip on;

# Load config files from the /etc/nginx/conf.d directory
 include /etc/nginx/conf.d/*.conf;
#
# The default server
#
server {
listen 80;
#charset koi8-r;
#access_log logs/host.access.log main;
location / {
root /usr/share/nginx/html;
index index.html index.htm;
}
与
http {
include /etc/nginx/mime.types;
default_type application/octet-stream;
log_format main '$remote_addr - $remote_user [$time_local] $request '
'"$status" $body_bytes_sent "$http_referer" '
'"$http_user_agent" "$http_x_forwarded_for"';
access_log /var/log/nginx/access.log main;
sendfile on;
tcp_nopush on;
tcp_nodelay on;
keepalive_timeout 65;
gzip on;
# Load config files from the /etc/nginx/conf.d directory
include /etc/nginx/conf.d/*.conf;
#
# The default server
#
server {
listen 80;
server_name YOURSERVERNAME;
#charset koi8-r;
#access_log logs/host.access.log main;
#Main location
location / {
proxy_pass http://127.0.0.1:8080/;
proxy_redirect off;
proxy_set_header Host $host;
proxy_set_header X-Real-IP $remote_addr;
proxy_set_header X-Forwarded-For $proxy_add_x_forwarded_for;
proxy_connect_timeout 90;
proxy_send_timeout 90;
proxy_read_timeout 90;
client_max_body_size 10m;
client_body_buffer_size 128k;
proxy_buffer_size 4k;
proxy_buffers 4 32k;
proxy_busy_buffers_size 64k;
root /usr/share/nginx/html;
index index.html index.htm index.php;
}
这个功能允许nginx使用这些文件类型:
更改
#location ~ /\.ht {
#deny all;
至
location ~* ^.+\.(jpg|jpeg|gif|png|ico|css|zip|tgz|gz|rar|bz2|doc|xls|exe|pdf|ppt|txt|tar|wav|bmp|rtf|js)$ {root /var/www;}
检查nginx conf
nginx -t
结果必须是这样的:
2008/07/17 16:09:46 [info] 17197#0:配置文件/etc/nginx/nginx.conf语法确定 2008/07/17 16:09:46 [info] 17197#0:配置文件/etc/nginx/nginx.conf已成功测试
5.安装rpaf-2.0模块
该模块向Apache提供了活跃的Nginx IP。
cd /usr/local/src
wget http://stderr.net/apache/rpaf/download/mod_rpaf-0.6.tar.gz
tar xzf mod_rpaf-0.6.tar.gz
cd mod_rpaf-0.6
编译rpaf模块:
nano /usr/local/src/mod_rpaf-0.6/makefile
将APXS = $(shell apxs)更改为APXS = / usr / sbin / apxs 。
编译方式:
我 )
make rpaf-2.0 && make install-2.0
二 )
apxs -i -c -n mod_rpaf-2.0.so mod_rpaf-2.0.c
6.编辑httpd.conf
nano /etc/httpd/conf/httpd.conf
加
...
LoadModule rpaf_module modules/mod_rpaf-2.0.so
....

#Mod_rpaf settings
RPAFenable On
RPAFproxy_ips 127.0.0.1 REALIP1 REALIP2
RPAFsethostname On
改听80 听8080 ,因为nginx将使用端口80。
7.重新启动Apache并启动Nginx
service httpd restart
service nginx start
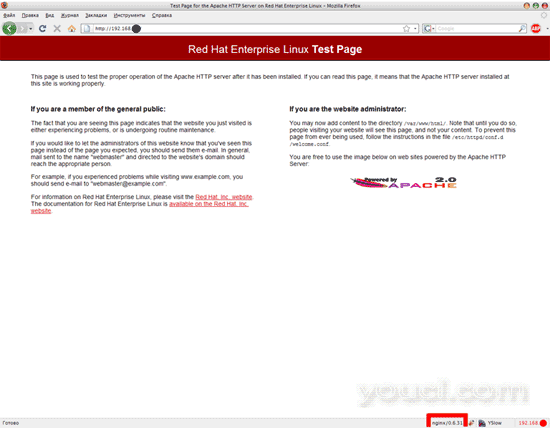
8.查看结果
Nginx的Apache测试页面: