在我们的最后一篇文章中,我们展示了如何在Ubuntu上安装Samba4,以便在Ubuntu系统和Windows机器之间进行基本文件共享。 我们在哪里查看配置匿名(不安全)以及安全文件共享。
在这里,我们将介绍如何在CentOS 7上安装和配置Samba4(也适用于RHEL 7 ),用于在其他Linux系统和Windows机器之间进行基本文件共享。
重要提示 :从版本4.0开始,Samba可以作为Active Directory(AD)域控制器(DC)运行 。 我们建议您阅读我们关于设置Samba4 Active Directory域控制器的特别系列,其中包括Ubuntu,CentOS和Windows的关键主题。
在CentOS 7中安装Samba4
1.首先使用yum软件包管理器工具从默认CentOS存储库安装Samba4和所需的软件包,如图所示。
# yum install samba samba-client samba-common

在CentOS 7上安装Samba4
2.安装samba软件包后,可以通过系统防火墙通过这些命令启用samba服务。
# firewall-cmd --permanent --zone=public --add-service=samba
# firewall-cmd --reload

在Firewalld上打开Samba
检查Windows机器工作组设置
3.在继续配置samba之前,请确保Windows计算机位于要在CentOS服务器上配置的相同工作组中。
有两种可能的方法来查看Windows机器工作组设置:
- 右键单击“ 本PC ”或“ 我的电脑 ”→ 属性 → 高级系统设置 → 计算机名称 。
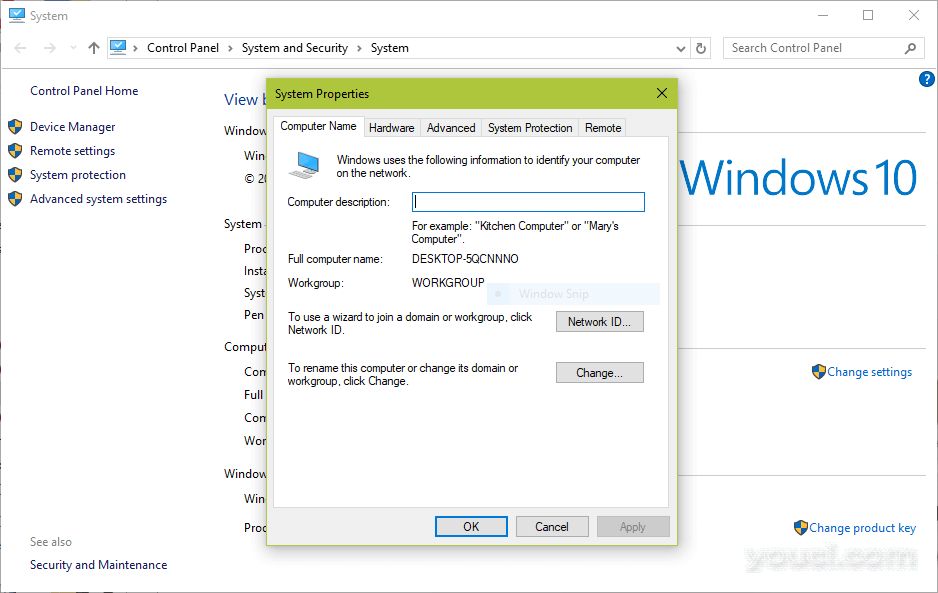
检查Windows WorkGroup
- 或者,打开cmd提示符并运行以下命令,然后在输出中查找“工作站域 ”,如下所示。
>net config workstation
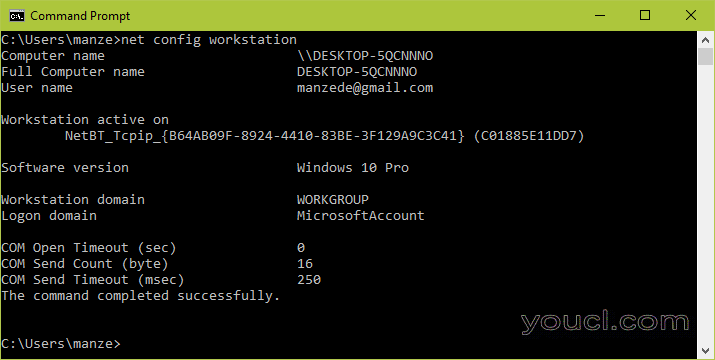
验证Windows WorkGroup
在CentOS 7上配置Samba4
主要的samba配置文件是/etc/samba/smb.conf ,原始文件带有预配置设置,可以说明各种配置指令来指导您。
但是,在配置samba之前,建议您备份这样的默认文件。
# cp /etc/samba/smb.conf /etc/samba/smb.conf.orig
然后,如下所述,继续配置samba以进行匿名和安全的文件共享服务。
Samba4匿名文件共享
5.首先创建文件将存储在服务器上的共享目录,并在目录上设置适当的权限。
# mkdir -p /srv/samba/anonymous
# chmod -R 0775 /srv/samba/anonymous
# chown -R nobody:nobody /srv/samba/anonymous
此外,您需要更改samba共享目录的SELinux安全上下文,如下所示。
# chcon -t samba_share_t /srv/samba/anonymous

创建Samba共享目录
6.接下来,打开samba配置文件进行编辑,您可以在其中使用相应的指令修改/添加以下部分。
# vi /etc/samba/smb.conf
[global]
workgroup = WORKGROUP
netbios name = centos
security = user
[Anonymous]
comment = Anonymous File Server Share
path = /srv/samba/anonymous
browsable =yes
writable = yes
guest ok = yes
read only = no
force user = nobody
7.现在通过运行以下命令验证当前samba设置。
# testparm
Load smb config files from /etc/samba/smb.conf
rlimit_max: increasing rlimit_max (1024) to minimum Windows limit (16384)
Processing section "[homes]"
Processing section "[printers]"
Processing section "[print$]"
Processing section "[Anonymous]"
Loaded services file OK.
Server role: ROLE_STANDALONE
Press enter to see a dump of your service definitions
# Global parameters
[global]
netbios name = centos
printcap name = cups
security = USER
idmap config * : backend = tdb
cups options = raw
[homes]
comment = Home Directories
browseable = No
inherit acls = Yes
read only = No
valid users = %S %D%w%S
[printers]
comment = All Printers
path = /var/tmp
browseable = No
printable = Yes
create mask = 0600
[print$]
comment = Printer Drivers
path = /var/lib/samba/drivers
create mask = 0664
directory mask = 0775
write list = root
[Anonymous]
comment = Anonymous File Server Share
path = /srv/samba/anonymous
force user = nobody
guest ok = Yes
read only = No
8.最后,启动并启用samba服务,在下次启动时自动启动,并应用上述更改生效。
# systemctl enable smb.service
# systemctl enable nmb.service
# systemctl start smb.service
# systemctl start nmb.service
测试匿名Samba文件共享
9.现在在Windows机器上,从Windows资源管理器窗口打开“ 网络 ”,然后单击CentOS主机,否则尝试使用其IP地址访问服务器(使用ifconfig命令获取IP地址)。
e.g. \\192.168.43.168.
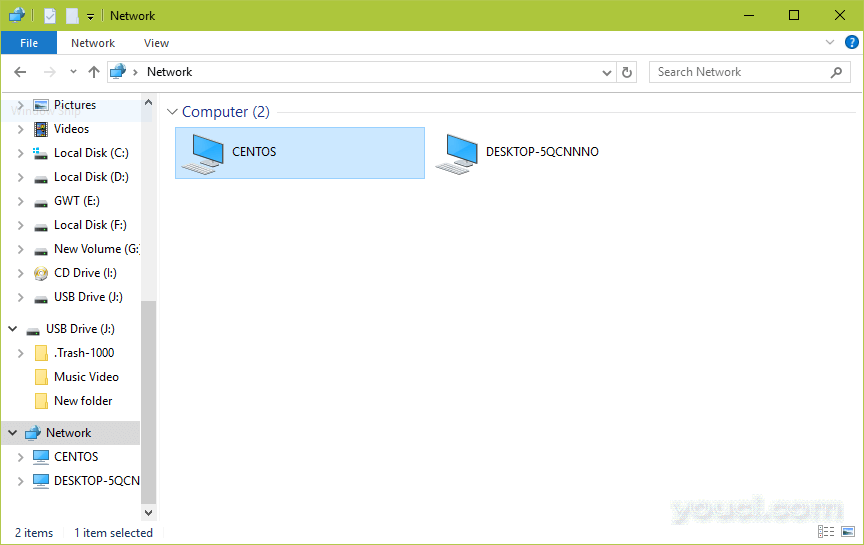
共享网络主机
接下来,打开匿名目录,并尝试添加文件以与其他用户共享。
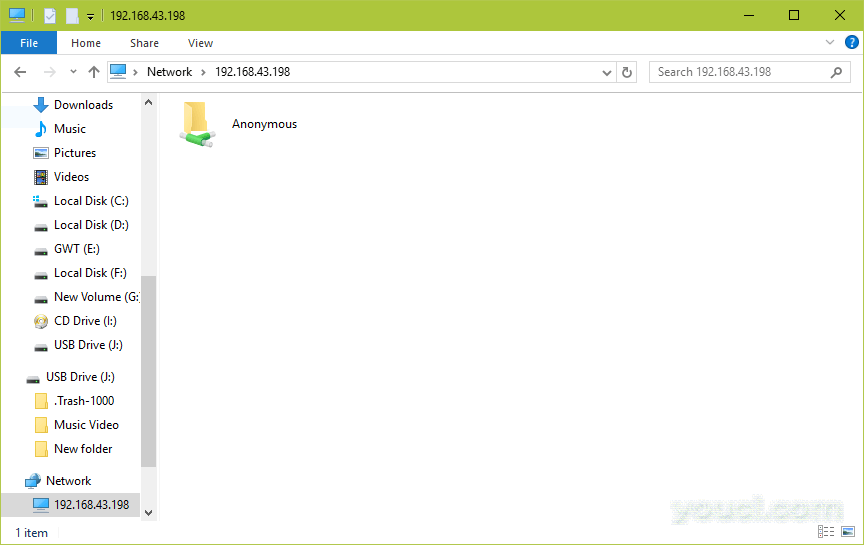
Samba匿名分享
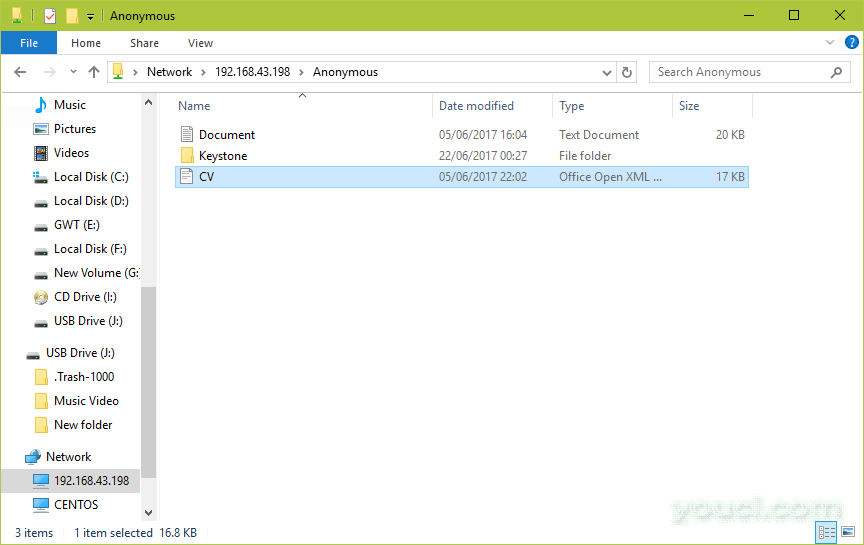
将文件添加到Samba匿名共享
安装Samba4安全文件共享
11.首先创建Samba系统组,然后将用户添加到组中,并为每个用户设置密码。
# groupadd smbgrp
# usermod youcl -aG smbgrp
# smbpasswd -a youcl
12.然后创建一个保存共享文件的安全目录,并为samba的SELinux安全上下文设置相应的权限。
# mkdir -p /srv/samba/secure
# chmod -R 0770 /srv/samba/secure
# chown -R root:smbgrp /srv/samba/secure
# chcon -t samba_share_t /srv/samba/secure
13.接下来打开配置文件进行编辑,并使用相应的指令修改/添加下面的部分。
# vi /etc/samba/smb.conf
[Secure]
comment = Secure File Server Share
path =  /srv/samba/secure
valid users = @smbgrp
guest ok = no
writable = yes
browsable = yes
14.再次,通过运行以下命令来验证samba配置设置。
$ testparm
Load smb config files from /etc/samba/smb.conf
rlimit_max: increasing rlimit_max (1024) to minimum Windows limit (16384)
Processing section "[homes]"
Processing section "[printers]"
Processing section "[print$]"
Processing section "[Anonymous]"
Loaded services file OK.
Server role: ROLE_STANDALONE
Press enter to see a dump of your service definitions
# Global parameters
[global]
netbios name = centos
printcap name = cups
security = USER
idmap config * : backend = tdb
cups options = raw
[homes]
comment = Home Directories
browseable = No
inherit acls = Yes
read only = No
valid users = %S %D%w%S
[printers]
comment = All Printers
path = /var/tmp
browseable = No
printable = Yes
create mask = 0600
[print$]
comment = Printer Drivers
path = /var/lib/samba/drivers
create mask = 0664
directory mask = 0775
write list = root
[Anonymous]
comment = Anonymous File Server Share
path = /srv/samba/anonymous
force user = nobody
guest ok = Yes
read only = No
[Secure]
comment = Secure File Server Share
path = /srv/samba/secure
read only = No
valid users = @smbgrp
15.重新启动Samba服务以应用更改。
# systemctl restart smb.service
# systemctl restart nmb.service
测试安全的Samba文件共享
16.转到Windows机器,从Windows资源管理器窗口打开“ 网络 ”,然后单击CentOS主机,否则尝试使用其IP地址访问服务器。
e.g. \\192.168.43.168.
您将被要求提供您的用户名和密码登录CentOS服务器。 输入凭据后,单击“ 确定” 。
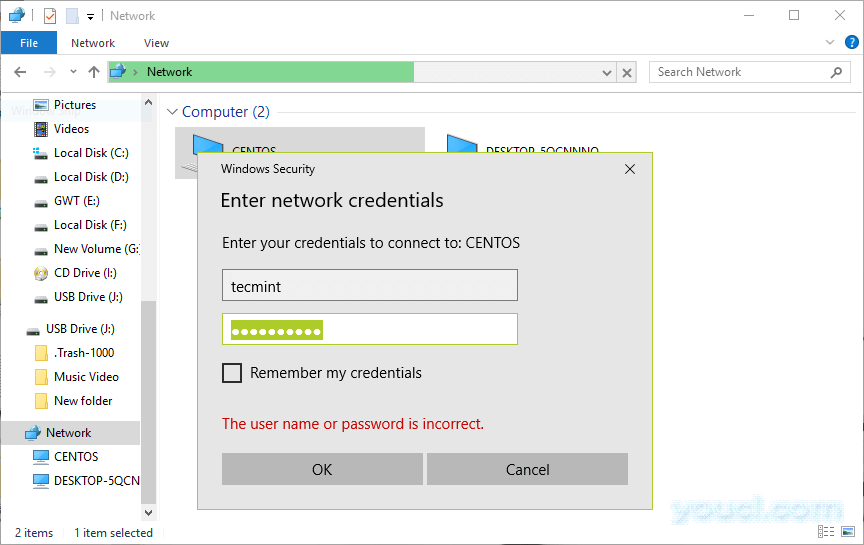
Samba安全登录
一旦您成功登录,您将看到所有的samba共享目录。 现在通过将其放在安全目录中,与网络上的其他许可用户安全地共享一些文件。
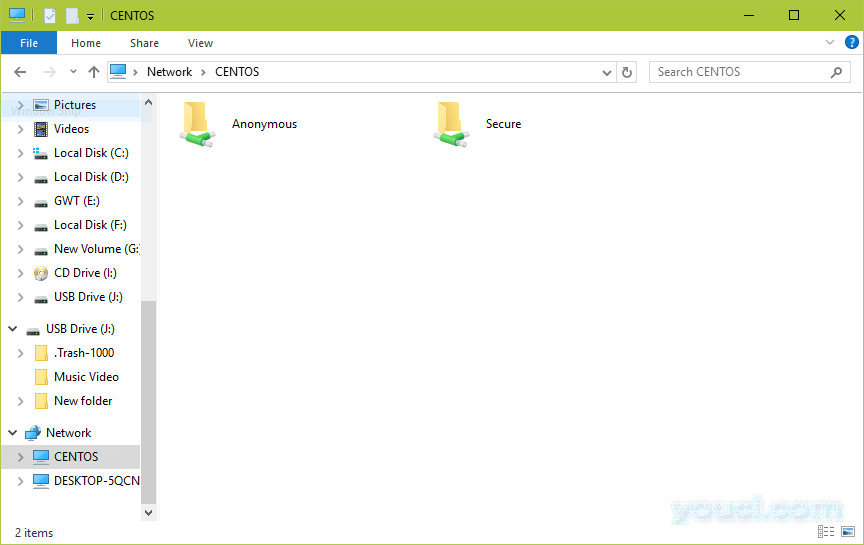
Samba安全共享目录
您还可以在网络上查看有关Samba文件共享的有用文章。
- 如何在Linux中挂载/卸载本地和网络(Samba和NFS)文件系统
- 使用ACL(访问控制列表)和安装Samba / NFS共享
- 如何在Linux系统中修复SambaCry漏洞(CVE-2017-7494)
在本指南中,我们向您展示了如何设置Samba4以便在CentOS和其他Linux系统以及Windows机器之间进行匿名和安全的文件共享。 通过下面的评论部分与我们分享任何想法。


