Symfony是PHP编写的Web应用程序框架。它提供了一组可重用的PHP组件。 Symfony 2.8是Symfony 2框架可用的当前稳定版本。 Symfony是提供30个独立的组件应用程序。本教程将帮助您在CentOS,Red Hat和Fedora操作系统安装Symfony 2框架。
第1步 - 设置Yum库
首先,你需要在你的系统中添加REMI和EPEL RPM资源。这些仓库已经更新软件包。使用下面的命令,根据您的操作系统版本和系统架构之一。
CentOS/RHEL 7, 64 Bit System:
# rpm -Uvh http://free.nchc.org.tw/fedora-epel/7/x86_64/e/epel-release-7-5.noarch.rpm
# rpm -Uvh http://rpms.famillecollet.com/enterprise/remi-release-7.rpm

CentOS/RHEL 6, 64/32 Bit System:
# rpm -Uvh http://download.fedoraproject.org/pub/epel/6/x86_64/epel-release-6-8.noarch.rpm
# rpm -Uvh http://rpms.famillecollet.com/enterprise/remi-release-6.rpm

CentOS/RHEL 5, 64/32 Bit System:
# rpm -Uvh http://dl.fedoraproject.org/pub/epel/5/x86_64/epel-releas5-4.noarch.rpm
# rpm -Uvh http://rpms.famillecollet.com/enterprise/remi-release-5.rpm
第2步 - 安装Apache,MySQL和PHP
要开始使用Symfony 2安装,我们首先需要设置一个运行LAMP服务器。如果您已经运行LAMP跳过这一步使用其他命令如下设置LAMP。
安装Apache
# yum --enablerepo=remi,epel install httpd
安装MySQL
# yum --enablerepo=remi,epel install mysql-server
# service mysqld start
# /usr/bin/mysql_secure_installation
安装PHP
# yum --enablerepo=remi,epel install php php-mysql php-intl
# service httpd restart
第3步 - 设置Symfony安装程序
symfony提供其自己的安装程序创建新的项目。下面的命令将帮助您设置的Symfony安装在系统上。
# curl -LsS https://symfony.com/installer -o /usr/local/bin/symfony
# chmod a+x /usr/local/bin/symfony
第4步 - 创建新的Symfony 2应用
您的系统上安装Symfony的成功安装后。让我们开始新的symfony应用程序。浏览到您的Web文档根目录,并创建一个新的symfony应用程序。
# cd /var/www/html
# symfony new myproj 2.8
现在切换到新创建的目录,然后检查是否所有要求都正确安装在系统上。如果一切正常,你会得到下面的结果。
# php myproj/bin/symfony_requirements

 [OK]
 Your system is ready to run Symfony2 projects
第5步 - 开始在开发模式中的应用
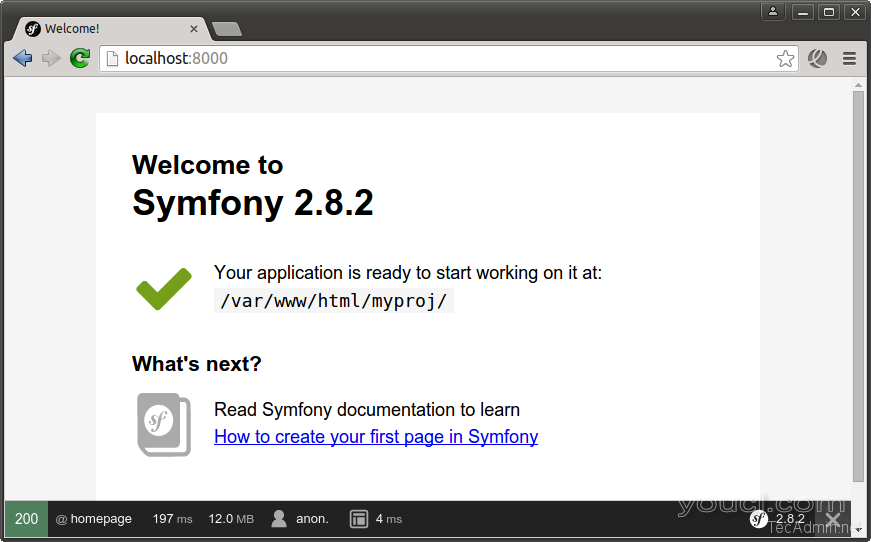
现在开始的Symfony 2 PHP框架的开发和建造了伟大的应用程序的。要查看浏览器的变化,可以使用以下命令启动Symfony的开发Web服务器。默认情况下,Web服务器将启动8000端口。
# php bin/console server:run

 [OK] Server running on http://127.0.0.1:8000
 // Quit the server with CONTROL-C.
现在,在浏览器中通过访问
http://127.0.0.1:8000或
http://localhost:8000进入新的Symfony 2的应用程序
。

第6步 - 创建的Apache虚拟主机
现在,如果你需要用的子域配置Symfony 2。创建目录下的一个新的Apache配置文件/etc/httpd/cond.d/并添加虚拟主机为您的Symfony 2的应用程序。
# vim /etc/http/conf.d/symphony2.example.com.conf
目录,并添加下面的内容。
<VirtualHost *:80>
    ServerName symphony2.example.com
    DocumentRoot /var/www/html/myproj/web

    <Directory /var/www/html/myproj/web>
        AllowOverride All
        Order Allow,Deny
        Allow from All
        <IfModule mod_rewrite.c>
            Options -MultiViews
            RewriteEngine On
            RewriteCond %{REQUEST_FILENAME} !-f
            RewriteRule ^(.*)$ app.php [QSA,L]
        </IfModule>
    </Directory>

    ErrorLog /var/log/httpd/myproj_error.log
    CustomLog /var/log/httpd/myproj_access.log combined
</VirtualHost>
完成所有更改后,现在重新启动Apache服务器更改生效。
# sudo service httpd restart
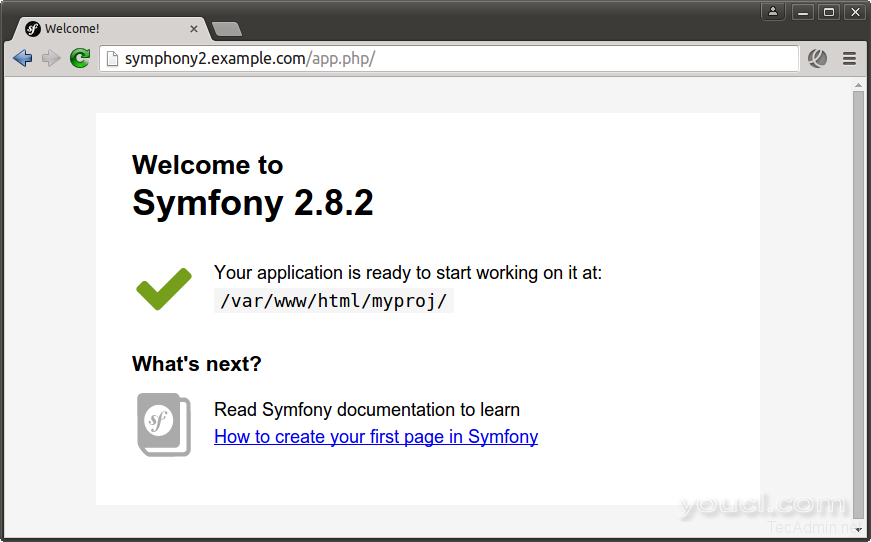
现在做一个主机文件条目在你的浏览器来访问新的Symfony 2应用程序,用你的域名如
http://symfony2.example.com。更改symfony2.example.com和127.0.0.1根据您的设置。
# echo "127.0.0.1 symphony2.example.com" >> /etc/hosts
 点击
这里阅读更多关于Symfony框架。

 点击
这里阅读更多关于Symfony框架。


