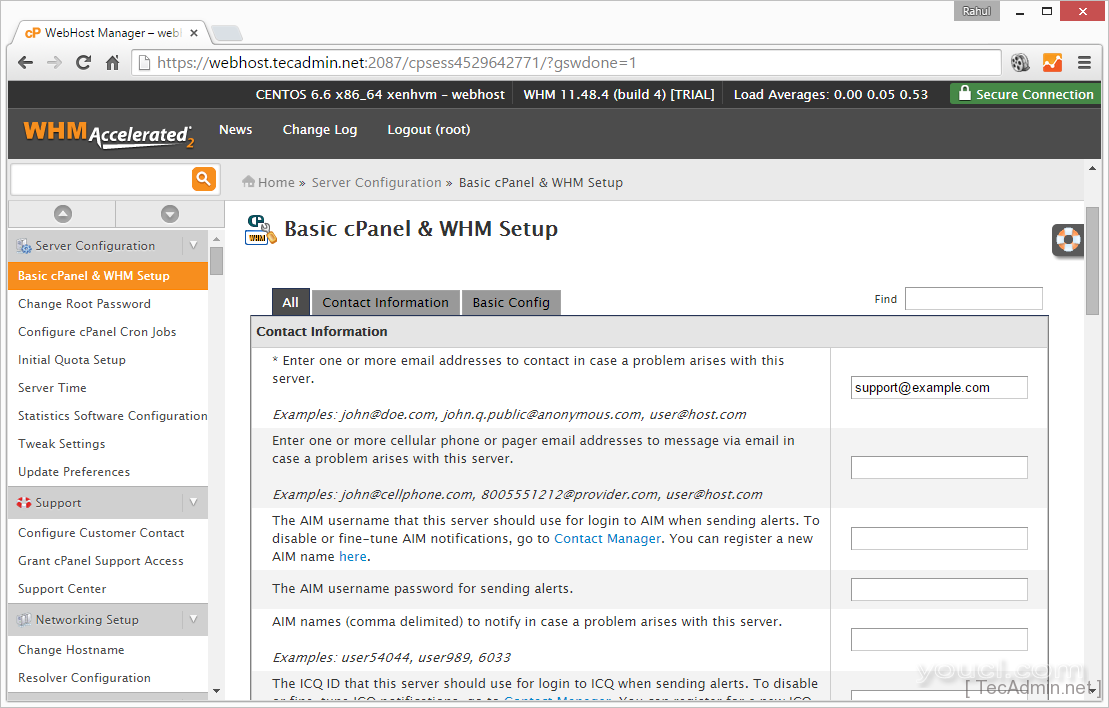
WHM/cPanel是Linux操作系统中最流行 的Web主机控制面板。使用WHM/cPanel,我们可以很容易地管理我们的网络托管环境,而无需更多的技术技能。如果你有网络,你可以使用管理WHM/cPanel的虚拟主机服务器托管的基本知识。 WHM/cPanel基本上分为两部分WHM和cPanel。WHM部分用于管理系统,托管账户和系统的维护,其中的cPanel被称为单托管帐户。本文将帮助你在CentOS/RHEL和CloudLinux操作系统上安装cPanel和WHM。
1. 最低系统要求
在系统上安装cPanel和WHM前,一定要满足以下要求
- 1GB内存最低
- 20 GB硬盘
- 必须安装的Perl
- CentOS 7/6/5或RHEL 6/5或CloudLinux 6/5
欲了解更多详情,请访问
WHM / cPanel的系统要求的URL。
2. 设置正确的主机名
在系统上安装WHM/cPanel之前,请务必设定正确的完全合格的主机名在您的系统。
# hostname webhost.example.com
现在编辑
/etc/sysconfig/network 永久设置主机名和更新的主机名条目下面一样
HOSTNAME=webhost.example.com
现在编辑
/etc/hosts
文件指向主机名到本地系统IP。例如本地系统的IP为192.168.1.100,如下条目。
192.168.1.100 webhost.example.com
3. 禁用SELinux
现在要开始cPanel和WHM安装之前,确保您的系统上禁用SELinux。禁用SELinux执行以下命令。
# setenforce 0
现在编辑
/etc/sysconfig/selinux 永久禁用SELinux更新,以下条目。
SELINUX=disabled
4. 安装WHM/cPanel
您准备安装WHM/cPanel已就绪。现在逐个执行以下命令在系统上安装WHM/cPanel。
# cd /home
# curl -o latest -L http://httpupdate.cpanel.net/latest
# sh latest
安装过程将花费更多的时间(约1小时以上),根据你的网络速度和操作系统的速度。安装完成后,您会得到输出如下图所示。
2015-05-28 12:23:48  183 ( INFO): cPanel install finished in 66 minutes and 9 seconds!
2015-05-28 12:23:48  684 ( INFO): Congratulations! Your installation of cPanel & WHM 11.48 is now complete. The next step is to configure your server.
2015-05-28 12:23:48  684 ( INFO):
2015-05-28 12:23:48  684 ( INFO): Before you configure your server, ensure that your firewall allows access on port 2087.
2015-05-28 12:23:48  684 ( INFO): On RHEL, CentOS, and CloudLinux systems, execute /scripts/configure_firewall_for_cpanel to accomplish this.
2015-05-28 12:23:48  684 ( INFO):
2015-05-28 12:23:48  684 ( INFO): After ensuring that your firewall allows access on port 2087, you can configure your server.
2015-05-28 12:23:48  684 ( INFO):
2015-05-28 12:23:48  684 ( INFO): 1. Open your preferred browser
2015-05-28 12:23:48  684 ( INFO):
2015-05-28 12:23:48  684 ( INFO): 2. Type https://192.168.1.100:2087 in the address bar
2015-05-28 12:23:48  684 ( INFO):
2015-05-28 12:23:48  684 ( INFO): 3. Enter the word root in the Username text box
2015-05-28 12:23:48  684 ( INFO):
2015-05-28 12:23:48  684 ( INFO): 4. Enter your root password in the Password text box
2015-05-28 12:23:48  684 ( INFO):
2015-05-28 12:23:48  684 ( INFO): 5. Click the Login button
2015-05-28 12:23:48  684 ( INFO):
2015-05-28 12:23:48  684 ( INFO): Visit http://go.cpanel.net/whminit for more information about first-time configuration of your server.
2015-05-28 12:23:48  684 ( INFO):
2015-05-28 12:23:48  684 ( INFO): Visit http://support.cpanel.net or http://go.cpanel.net/whmfaq for additional support
2015-05-28 12:23:48  684 ( INFO):
2015-05-28 12:23:48  684 ( INFO): Thank you for installing cPanel & WHM 11.48!
5. cPanel&WHM 安装后
在系统上WHM/cPanel安装成功后,可以以2086和2087访问WHM(使用SSL)和cPanel账户上的2082和2083(使用SSL)端口。现在登录到您的WHM帐户并完成根据您的需要配置安装后说明ANS。您可以使用root帐户,并在以下URL密码访问WHM。
https://webhost.exmaple.com:2087/
用你的 root 帐户,并完成以下六个步骤登录。
- 接受Linux的协议
- 设置网络
- 设置IP地址
- 选择域名服务器(默认绑定)
- 安装程序的其他服务,如FTP,邮件
- 启用或禁用磁盘配额

6. 激活cPanel&WHM许可证
由于WHM/cPanel激活可使用商业执照,所以你需要从的cPanel或其第三方网站购买许可证(基于IP)。 当你购买了商业许可为您的cPanel服务器激活使用以下命令。
# /usr/local/cpanel/cpkeyclt
要验证您的许可证访问
cPanel许可证验证网址,并输入公用IP您的服务器。


