我们继续有关使用PyGObject Linux桌面下创建GUI应用程序我们的系列,这是该系列,今天我们将要谈论的是创建使用一些高级的控件功能更强大的应用程序的第二部分。

在Linux中创建Gui应用程序 - 第2部分
要求
在前面的文章中,我们说有两种方式创建一个使用PyGObject GUI应用程序: 代码唯一路和林间空地设计方式,但是从现在开始,我们将只解释格莱德设计的方式,因为它是更容易大多数用户,您可以使用自己学到的代码只有单向的python-gtk3教程 。
在Linux中创建高级GUI应用程序
1.让我们开始编程! 从打开应用程序菜单中选择格莱德设计师。
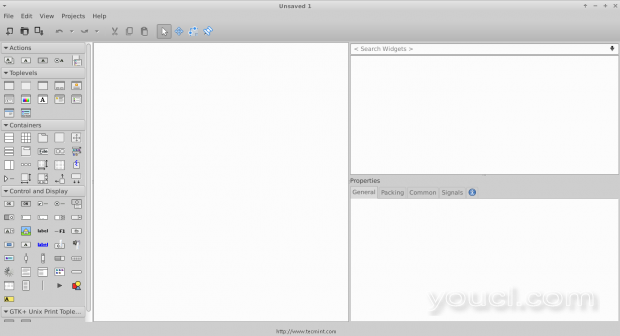
Glade设计师
2.为了创建一个新的点击左侧边栏中的“ 窗口 ”按钮。
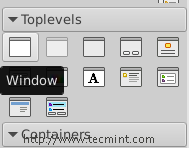
创建新窗口
3.单击“ 盒子 ”窗口小部件,然后松开空的窗口上。
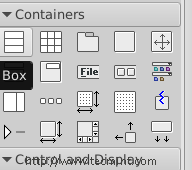
选择框小部件
4.您将被提示输入你想要的箱子的数量,使其3。
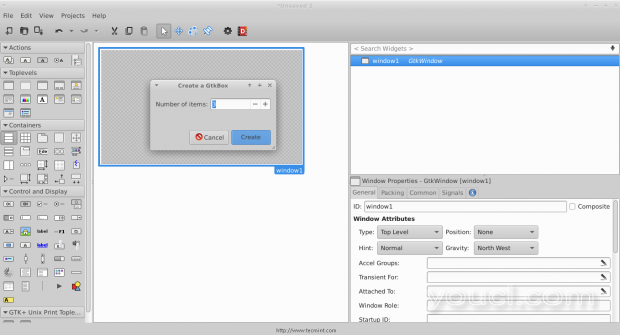
创建框
你会看到,在创建箱 ,这些箱子是对我们很重要,为了能够增加的不仅仅是1部件多在一个窗口。
5.现在点击窗口部件,改变方向从类型垂直到水平 。
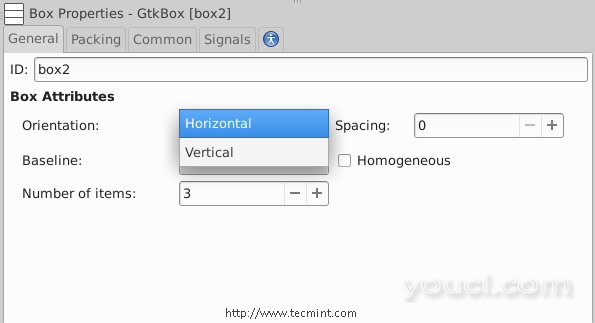
使箱子水平
6.为了创建一个简单的程序,添加一个“ 文本输入 ”,“ 组合框文本 ”和盒子中的每一个“ 按钮 ”窗口小部件,你应该有这样的事情。
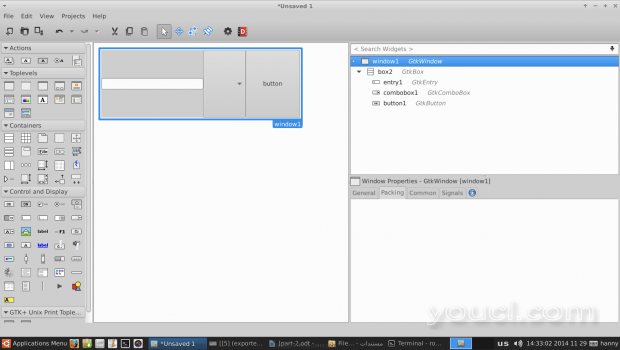
创建简单程序
7.现在点击从右侧边栏中的“ 窗口1”小工具,并改变其位置以“ 中心 ”。
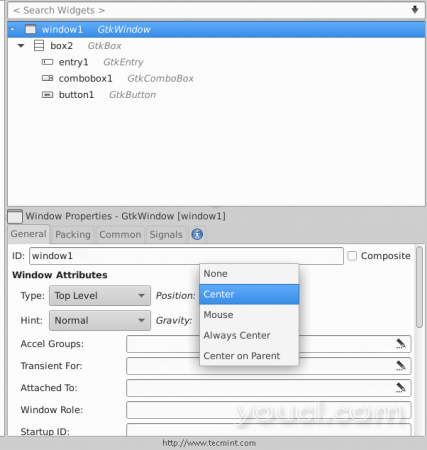
制作小部件中心
向下滚动到“ 外观 ”部分。而添加标题为窗口中的“ 我的计划 ”。
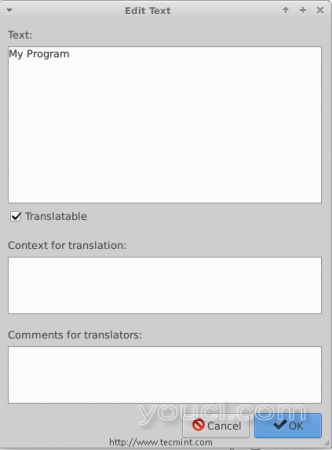
添加小部件标题
8.您还可以通过点击“ 图标名称 ”框中选择该窗口的图标 。
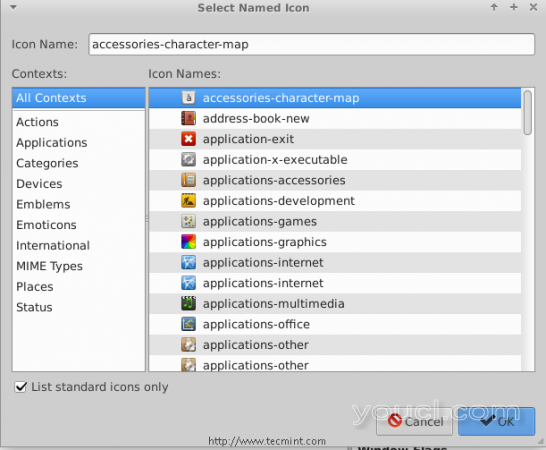
设置小部件图标
9.您还可以更改应用程序...所有这一切后,默认的高度和宽度 ,你应该有这样的事情。
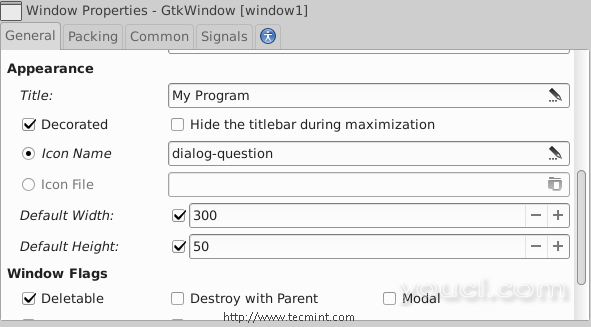
设置小部件高度宽度
在任何程序中,最重要的事情之一是建立一个“ 关于 ”窗口,要做到这一点,首先我们必须改变我们之前创建成股票按钮普通按钮,看图片。
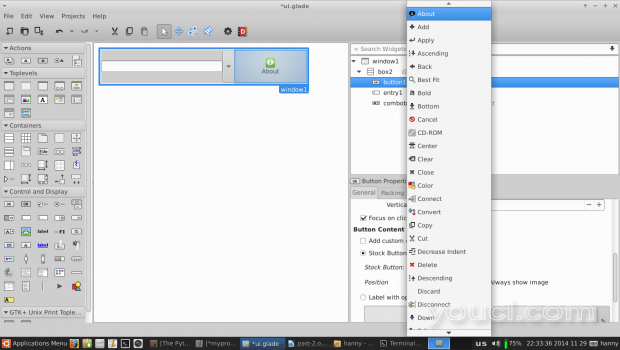
创建关于窗口
10.现在,我们必须在任何情况下出现在我们的小工具来修改某些信号才能运行的具体行动。 点击文本输入控件,切换到右侧边栏中的“ 信号 ”选项卡上,搜索“ 激活 ”,改变其处理程序为“enter_button_clicked”,“ 激活 ”信号时,“ 输入”,即发送默认的信号键,同时专注于文本输入小部件。
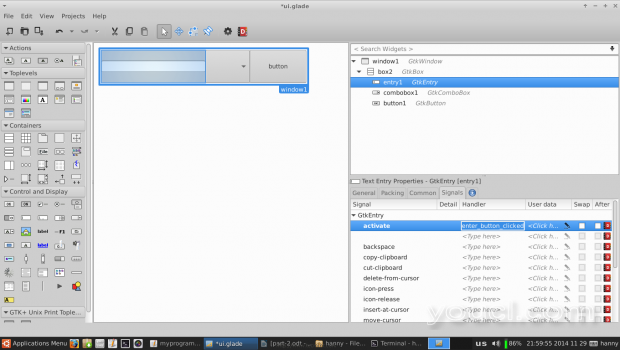
设置小部件信号
我们必须要添加另一个处理程序“ 点击 ”信号,我们对按钮控件,点击它并改为“button_is_clicked”中的“ 点击 ”的信号。
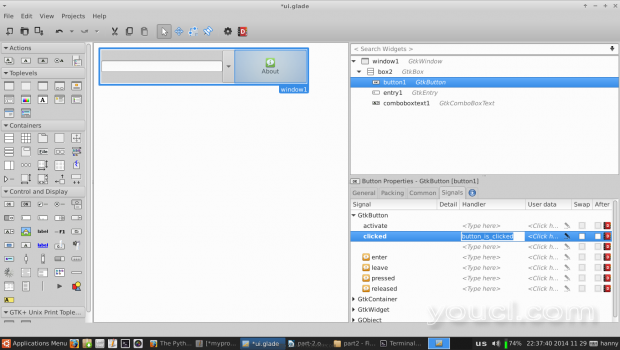
添加小部件处理程序
11.转到关于“ 具有焦点 ”,因为它遵循“ 共享 ”标签和标志(为为大约按钮而不是默认的条目焦点)。
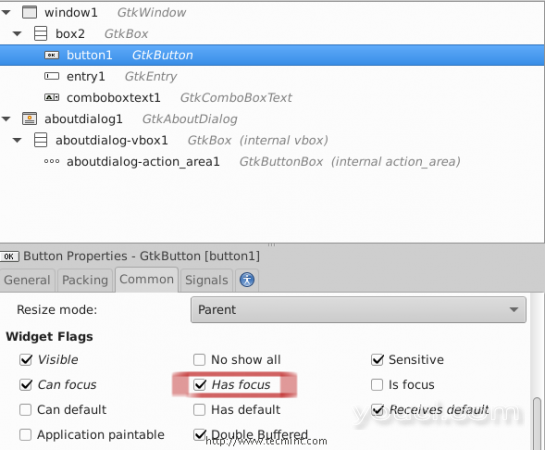
设置默认聚焦
12.现在从左侧栏中,创建一个新的“ 关于对话框 ”窗口。
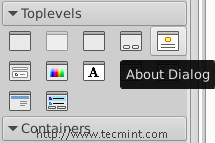
创建关于对话框
而且你会发现,创建了“ 关于对话框 ”窗口。
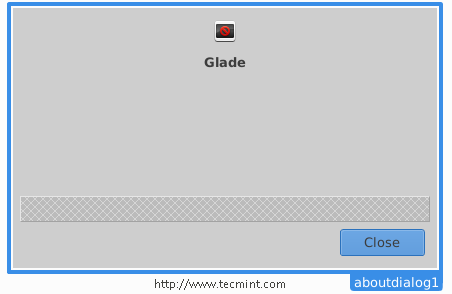
关于对话框
让我们修改它..确保您从右侧边栏插入以下设置。
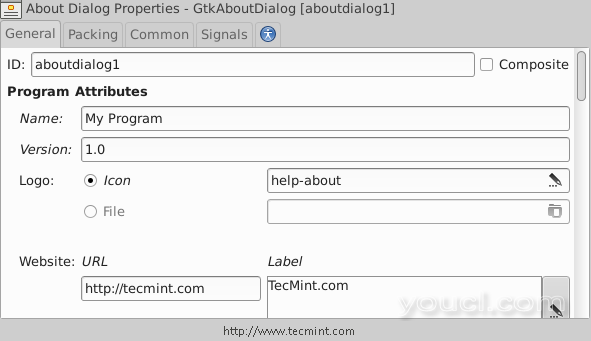
添加程序属性
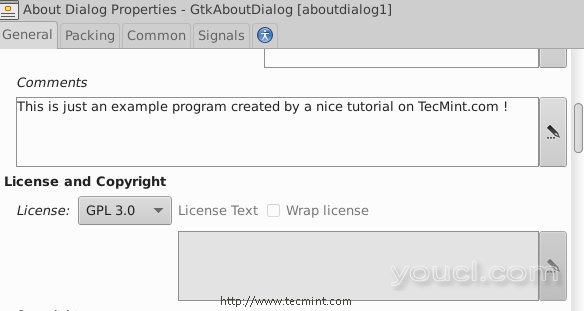
选择许可证
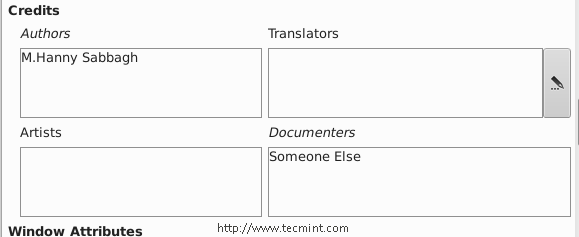
添加关于作者
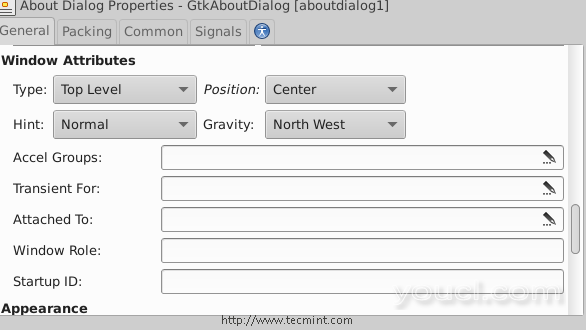
设置窗口偏好
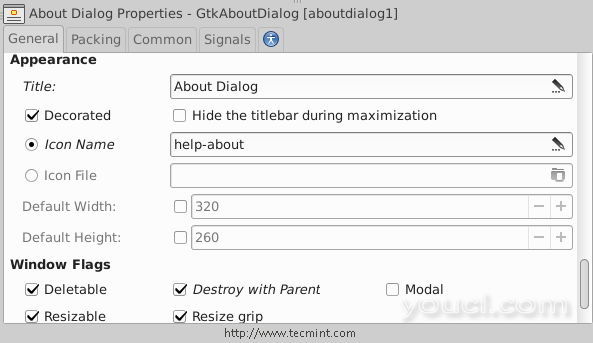
选择Appreance标志
完成上述设置后,您将获得关于Window的以下信息。
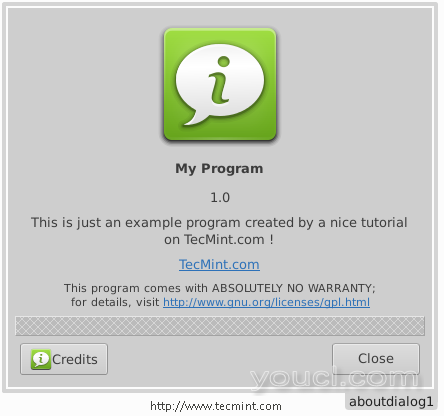
我的程序关于窗口
在上面的窗口中,你会注意到空的空间,但你可以通过将框数从3减少到2来删除它,或者你可以添加任何窗口小部件。
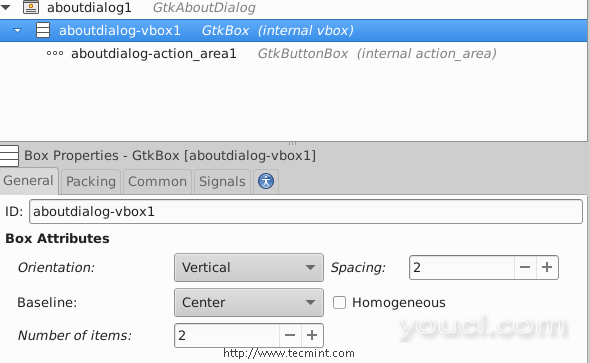
更改窗口框
13.现在将文件保存在名为“ui.glade”你的主文件夹,然后打开一个文本编辑器,进入里面的下面的代码。
#!/usr/bin/python
# -*- coding: utf-8 -*-
from gi.repository import Gtk
class Handler:
def button_is_clicked(self, button):
## The ".run()" method is used to launch the about window.
ouraboutwindow.run()
## This is just a workaround to enable closing the about window.
ouraboutwindow.hide()
def enter_button_clicked(self, button):
## The ".get_text()" method is used to grab the text from the entry box. The "get_active_text()" method is used to get the selected item from the Combo Box Text widget, here, we merged both texts together".
print ourentry.get_text() + ourcomboboxtext.get_active_text()
## Nothing new here.. We just imported the 'ui.glade' file.
builder = Gtk.Builder()
builder.add_from_file("ui.glade")
builder.connect_signals(Handler())
ournewbutton = builder.get_object("button1")
window = builder.get_object("window1")
## Here we imported the Combo Box widget in order to add some change on it.
ourcomboboxtext = builder.get_object("comboboxtext1")
## Here we defined a list called 'default_text' which will contain all the possible items in the Combo Box Text widget.
default_text = [" World ", " Earth ", " All "]
## This is a for loop that adds every single item of the 'default_text' list to the Combo Box Text widget using the '.append_text()' method.
for x in default_text:
ourcomboboxtext.append_text(x)
## The '.set.active(n)' method is used to set the default item in the Combo Box Text widget, while n = the index of that item.
ourcomboboxtext.set_active(0)
ourentry = builder.get_object("entry1")
## This line doesn't need an explanation :D
ourentry.set_max_length(15)
## Nor this do.
ourentry.set_placeholder_text("Enter A Text Here..")
## We just imported the about window here to the 'ouraboutwindow' global variable.
ouraboutwindow = builder.get_object("aboutdialog1")
## Give that developer a cookie !
window.connect("delete-event", Gtk.main_quit)
window.show_all()
Gtk.main
保存该名称“myprogram.py”你的家目录中的文件,并给它执行权限并运行它。
$ chmod 755 myprogram.py
$ ./myprogram.py
This is what you will get, after running above script.
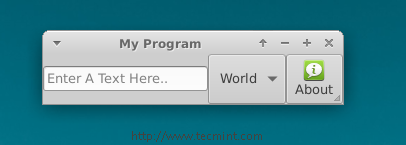
我的程序窗口
请在输入框中输入文字,按下键盘上的“Enter”键,你会发现这句话是在外壳的印刷。

框输出文本
这就是现在,它不是一个完整的应用程序,但我只是想告诉你如何链接在一起使用PyGObject,您可以查看所有GTK构件的所有方法的东西gtkobjects 。
只是学习方法,使用格拉德创建窗口小部件,并使用Python文件连接的信号,就是它了! 这不是我的朋友。
我们将在系列的下一部分解释更多关于PyGObject的新东西,直到保持更新,不要忘记给我们您对文章的评论。


